
コンテンツアプリケーションの作成
多くのケースでは Sanity Studio の管理画面を利用してコンテンツの編集をしますが、用途によってはコンテンツを編集するためのアプリケーションを用意する方が良い場合があります。今回はこれに対応したアプリケーションの作成を実践します。
アプリの新規作成
早速ですが、シンプルなアプリの開発を進めます。以下のコマンドを day-one の下で実行します。
npx sanity@latest init --template app-sanity-ui --typescript --output-path apps/tickets実行をすると、Organization の確認が表示されます。これは既存の Studio と同じ Organization を選択してください。
実行すると、以下のように apps の下に新しいアプリが追加されます。
- day-one
  - apps
    - studio
    - tickets
    - web
作成されたファイルでは、apps/tickets/src/App.tsx に projectId と dataset を追加してください。
function App() {
  // apps can access many different projects or other sources of data
  const sanityConfigs: SanityConfig[] = [
    {
      projectId: '',
      dataset: '',
    }
  ]
標準では 3333 ポートを利用してこのアプリケーションが動作します。studio もローカルで起動した時は同じポートを利用しています。そこで、studio をローカルで起動する際に、3334 でこのアプリを起動できるように、apps/tickets/sanity.cli.ts のファイルを以下のように変更します。
import {defineCliConfig} from 'sanity/cli'

export default defineCliConfig({
  server: {
    port: 3334,
  },
この変更をすると、Sanity の管理画面の CROS に localhost:3334 が含まれていないため以下のような画面が表示されます。
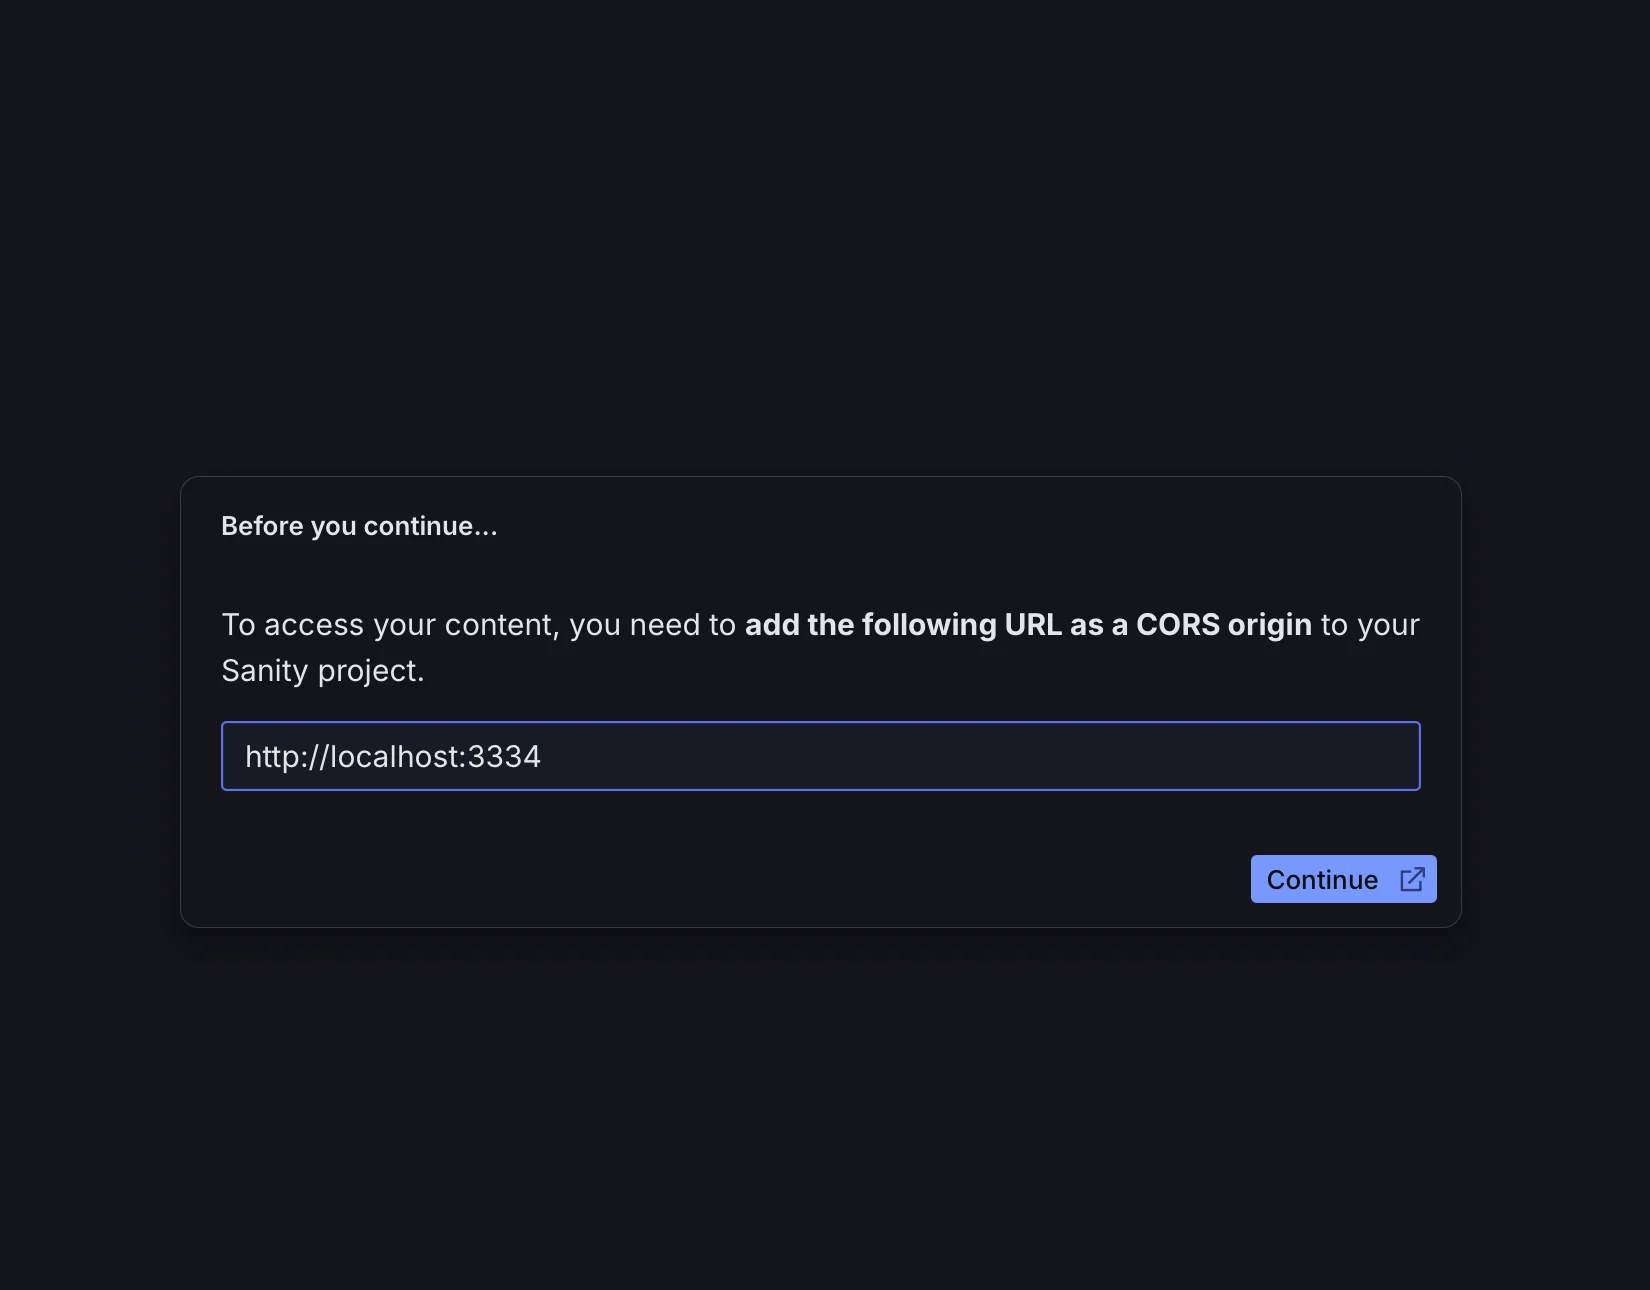
apps/studio のフォルダで以下のコマンドを実行してください。
npx sanity@latest cors add http://localhost:3334 --allow警告が表示されますが、今回は意図的に追加するため Yes を選択してください。

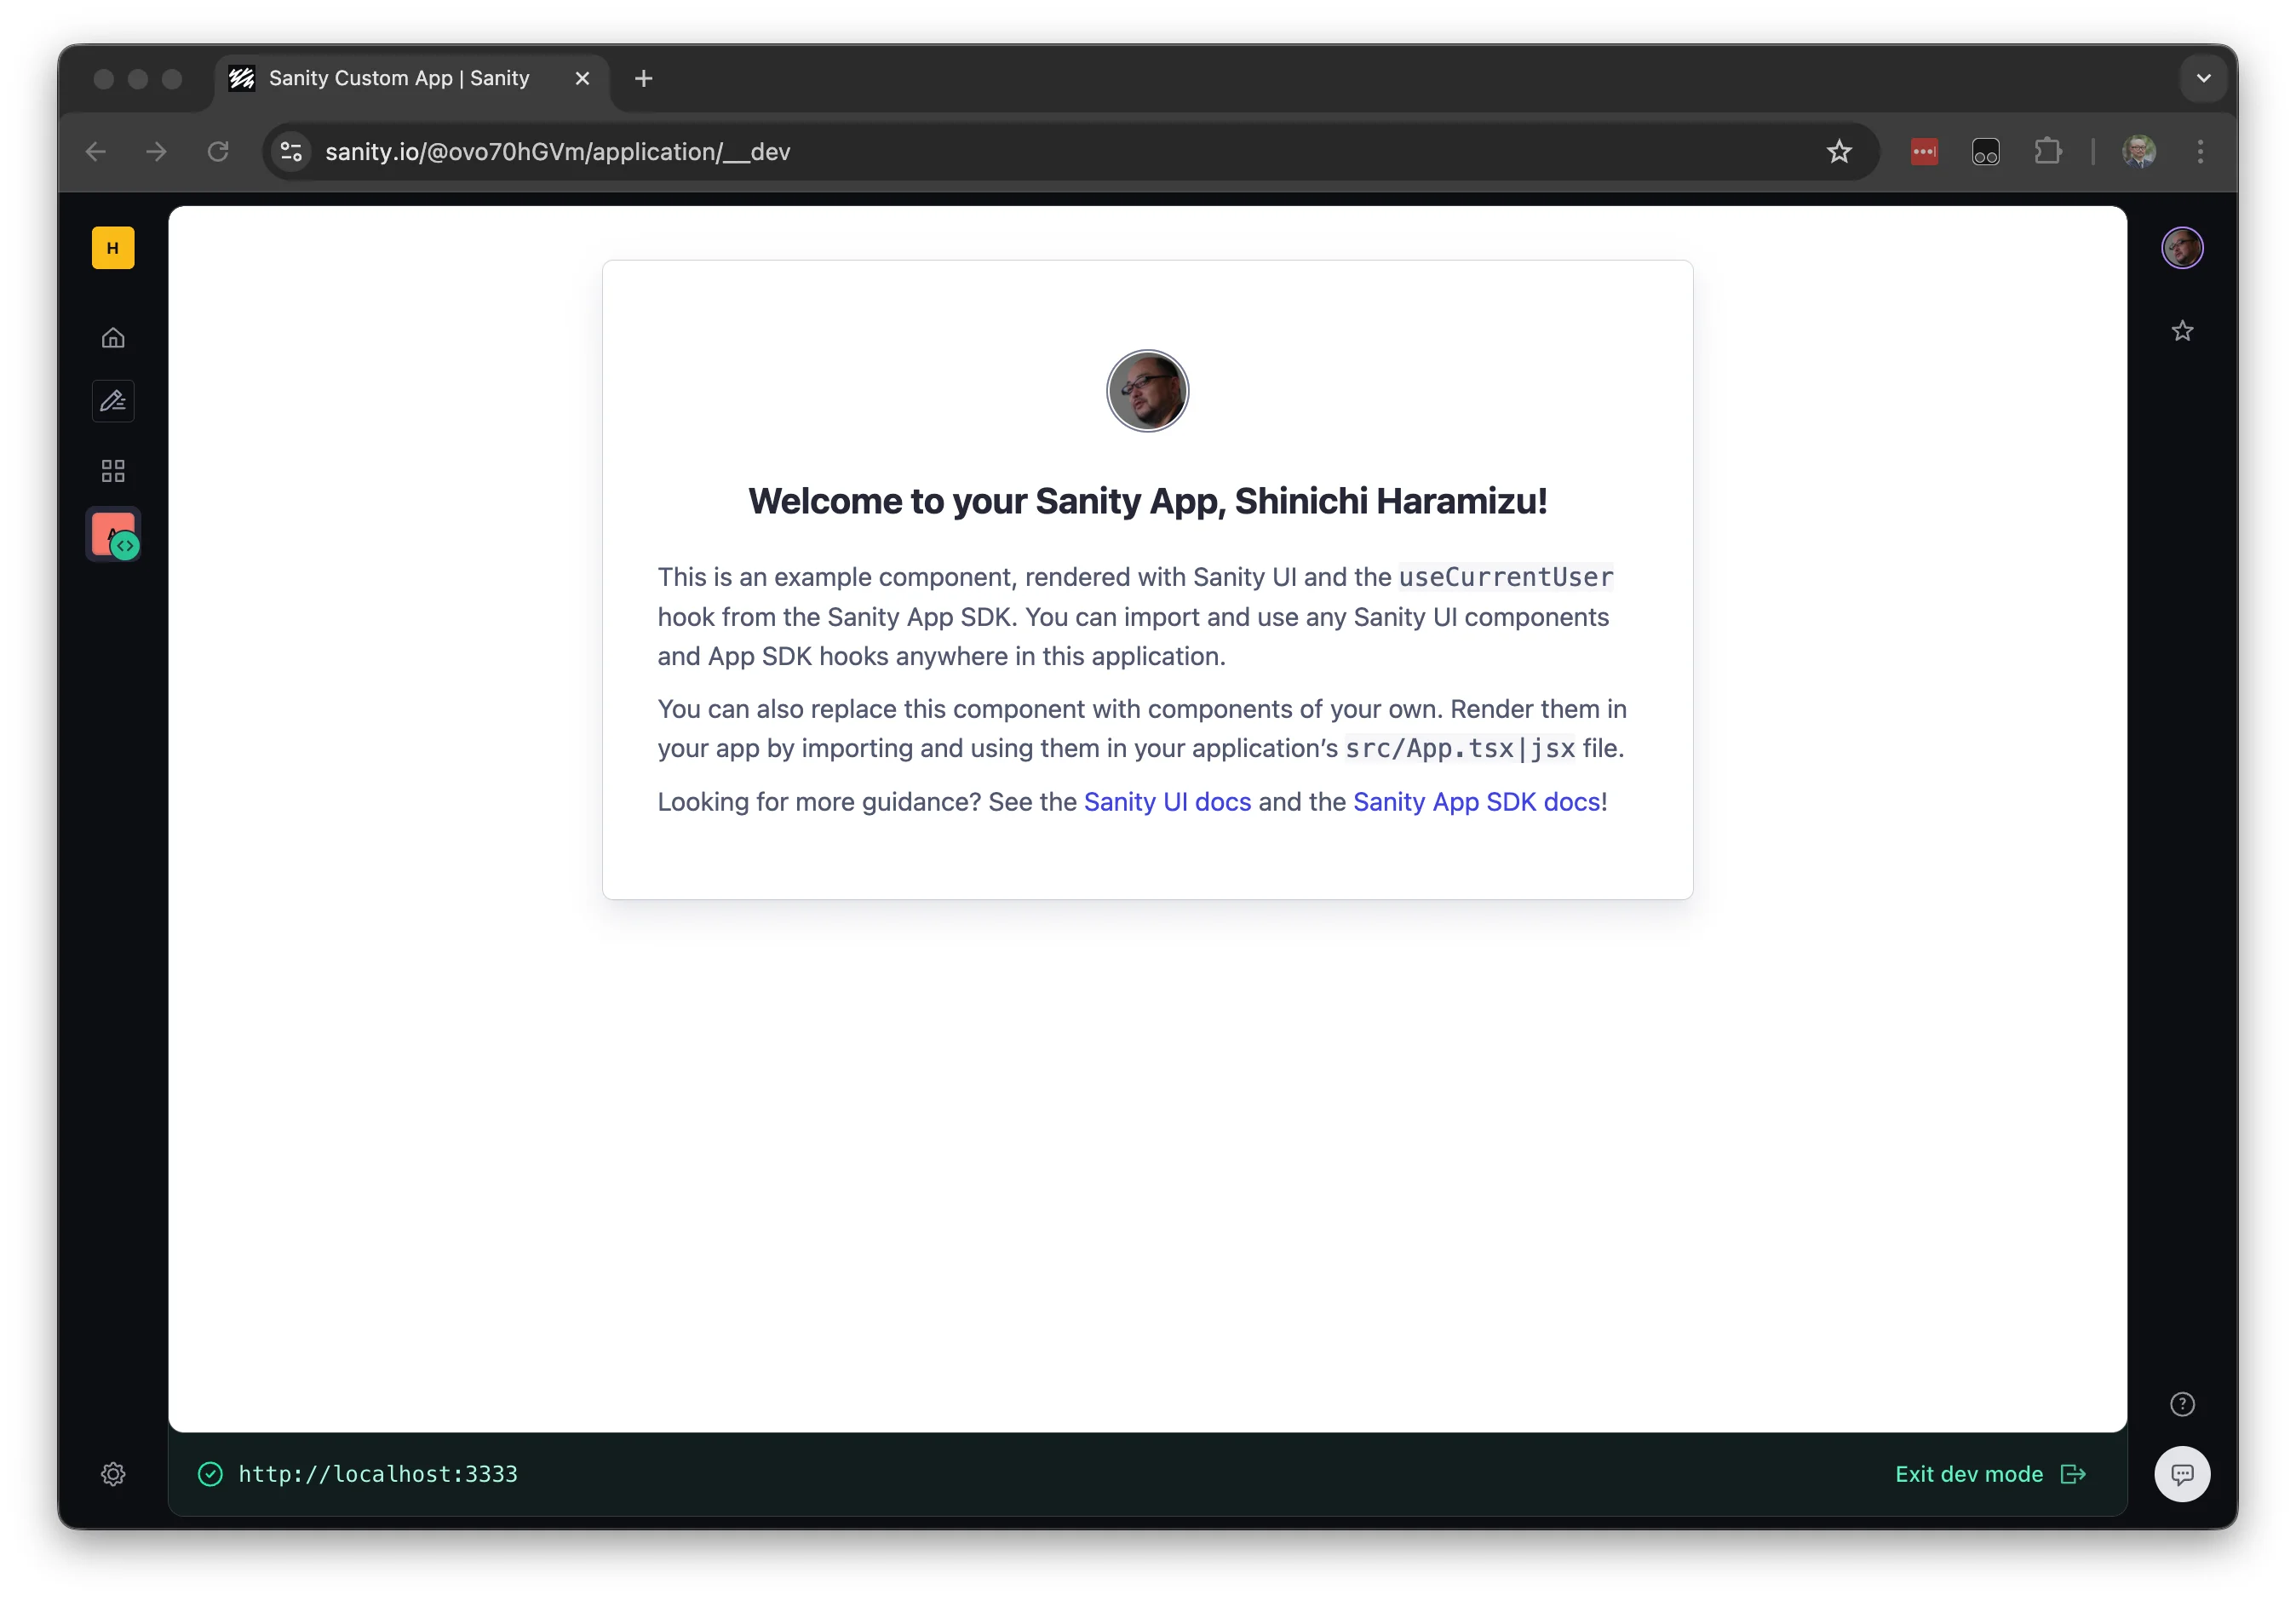
これで準備ができました。 apps/tickets のディレクトリに移動をして、以下のコマンドを実行します。
npm run devURL が表示されるため、クリックをしてください。以下のようにダッシュボードが表示されれば、ローカルのアプリが動くようになった形です。
コンポーネントの作成
作成した新しいアプリに幾つかの機能を追加していきます。まず、コンテンツが下書きになっている場合に公開を実行する Publish.tsx を作成します。apps/tickets/src/Publish.tsx を作成して以下のコードを設定します。
import {
	DocumentHandle,
	publishDocument,
	useApplyDocumentActions,
	useDocument,
} from "@sanity/sdk-react";
import { Button } from "@sanity/ui";

export function Publish(props: DocumentHandle) {
	const { data: _id } = useDocument({ ...props, path: "_id" });
	const isDraft = _id?.startsWith("drafts.");
	const apply = useApplyDocumentActions();
	const publish = () => apply(publishDocument(props));

	return (
		<Button
			text="Publish"
			disabled={!isDraft}
			tone="positive"
			mode="ghost"
			onClick={publish}
		/>
	);
}
続いて、チケットの URL が正しいか確認をするための Open ボタンを作成します。apps/tickets/src/TicketURL.tsx を追加して、以下のコードを設定します。
import {DocumentHandle} from '@sanity/sdk'
import {useDocument, useEditDocument} from '@sanity/sdk-react'
import {Box, Button, TextInput} from '@sanity/ui'

function isValidUrl(url: string) {
  try {
    new URL(url)
    return true
  } catch {
    return false
  }
}

export function TicketURL(props: DocumentHandle) {
  const {data: value} = useDocument<string>({
    ...props,
    path: 'tickets',
  })
  const editTicketURL = useEditDocument({
    ...props,
    path: 'tickets',
  })

  const isValid = isValidUrl(value || '')

  return (
    <>
      <Box flex={1}>
        <TextInput
          type="url"
          value={value || ''}
          onChange={(event) => editTicketURL(event.currentTarget.value)}
        />
      </Box>
      <Button
        href={value}
        target="_blank"
        disabled={!isValid}
        text="Open"
        tone="primary"
        mode="ghost"
      />
    </>
  )
}続いてイベントの情報を表示するコンポーネントとして、apps/tickets/src/Event.tsx ファイルを作成します。
import {Suspense} from 'react'
import {DocumentHandle} from '@sanity/sdk'
import {useDocumentProjection} from '@sanity/sdk-react'
import {Card, Flex, Grid, Text} from '@sanity/ui'
import {TicketURL} from './TicketURL'
import {Publish} from './Publish'

type EventProjection = {
  name: string | null
  tickets: string | null
}

export function Event(props: DocumentHandle) {
  const {data: event} = useDocumentProjection<EventProjection>({
    ...props,
    projection: `{ name }`,
  })

  return (
    <Card borderBottom paddingBottom={3}>
      <Grid columns={2} gap={2}>
        <Text>{event?.name || 'Untitled'}</Text>
        <Flex gap={1}>
          <Suspense fallback="Loading...">
            <TicketURL {...props} />
          </Suspense>
          <Suspense fallback="Loading...">
            <Publish {...props} />
          </Suspense>
        </Flex>
      </Grid>
    </Card>
  )
}
最後に、イベントの一覧を表示するための Events として、apps/tickets/src/Events.tsx を追加します。
import {useDocuments} from '@sanity/sdk-react'
import {Container, Stack, Text} from '@sanity/ui'
import {Suspense} from 'react'
import {Event} from './Event'

export function Events() {
  const {data: events} = useDocuments({
    documentType: 'event',
  })

  return (
    <Container width={2}>
      <Stack space={3} padding={4}>
        {events?.map((event) => (
          <Suspense key={event.documentId} fallback={<Text>Loading...</Text>}>
            <Event key={event.documentId} {...event} />
          </Suspense>
        ))}
      </Stack>
    </Container>
  )
}最後に、apps/tickets/src/App.tsx ファイルを更新します。以下の部分が Events を読み込んでコンポーネントを追加できているか確認をしてください。
import { Events } from "./Events";
function App() {
return (
<SanityUI>
<SanityApp config={sanityConfigs} fallback={<Loading />}>
{/* add your own components here! */}
<Events />
</SanityApp>
</SanityUI>
);
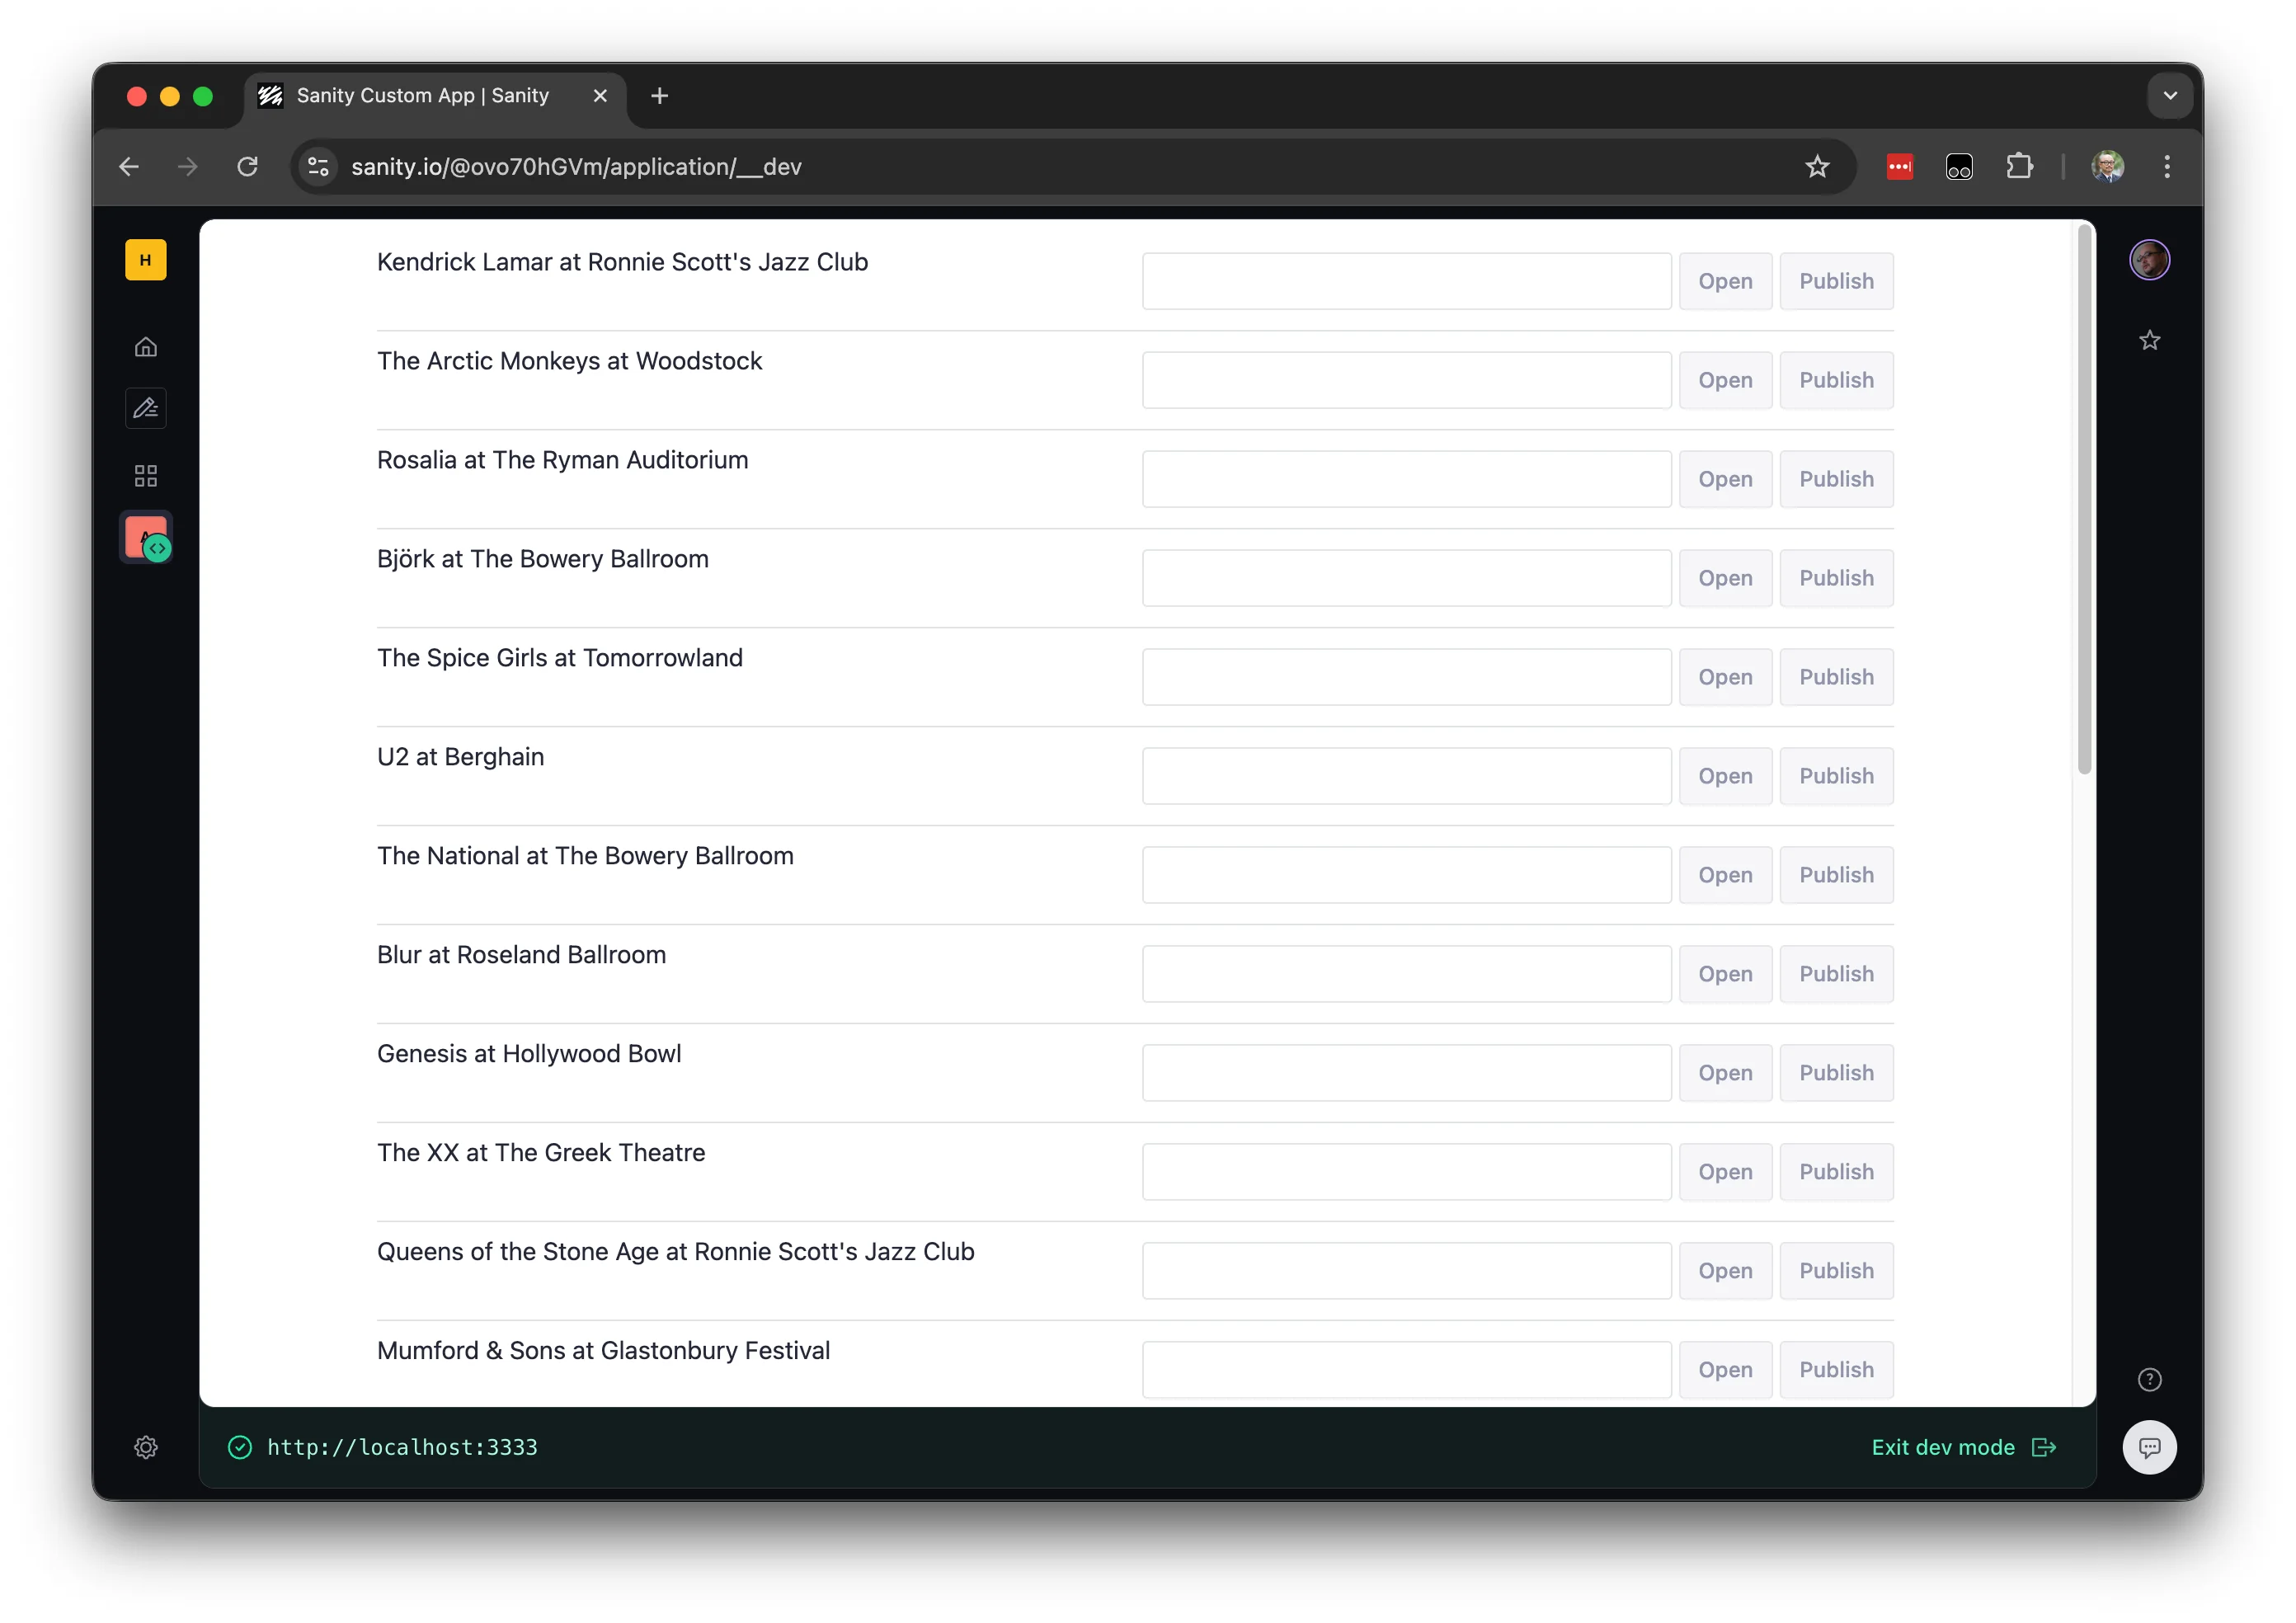
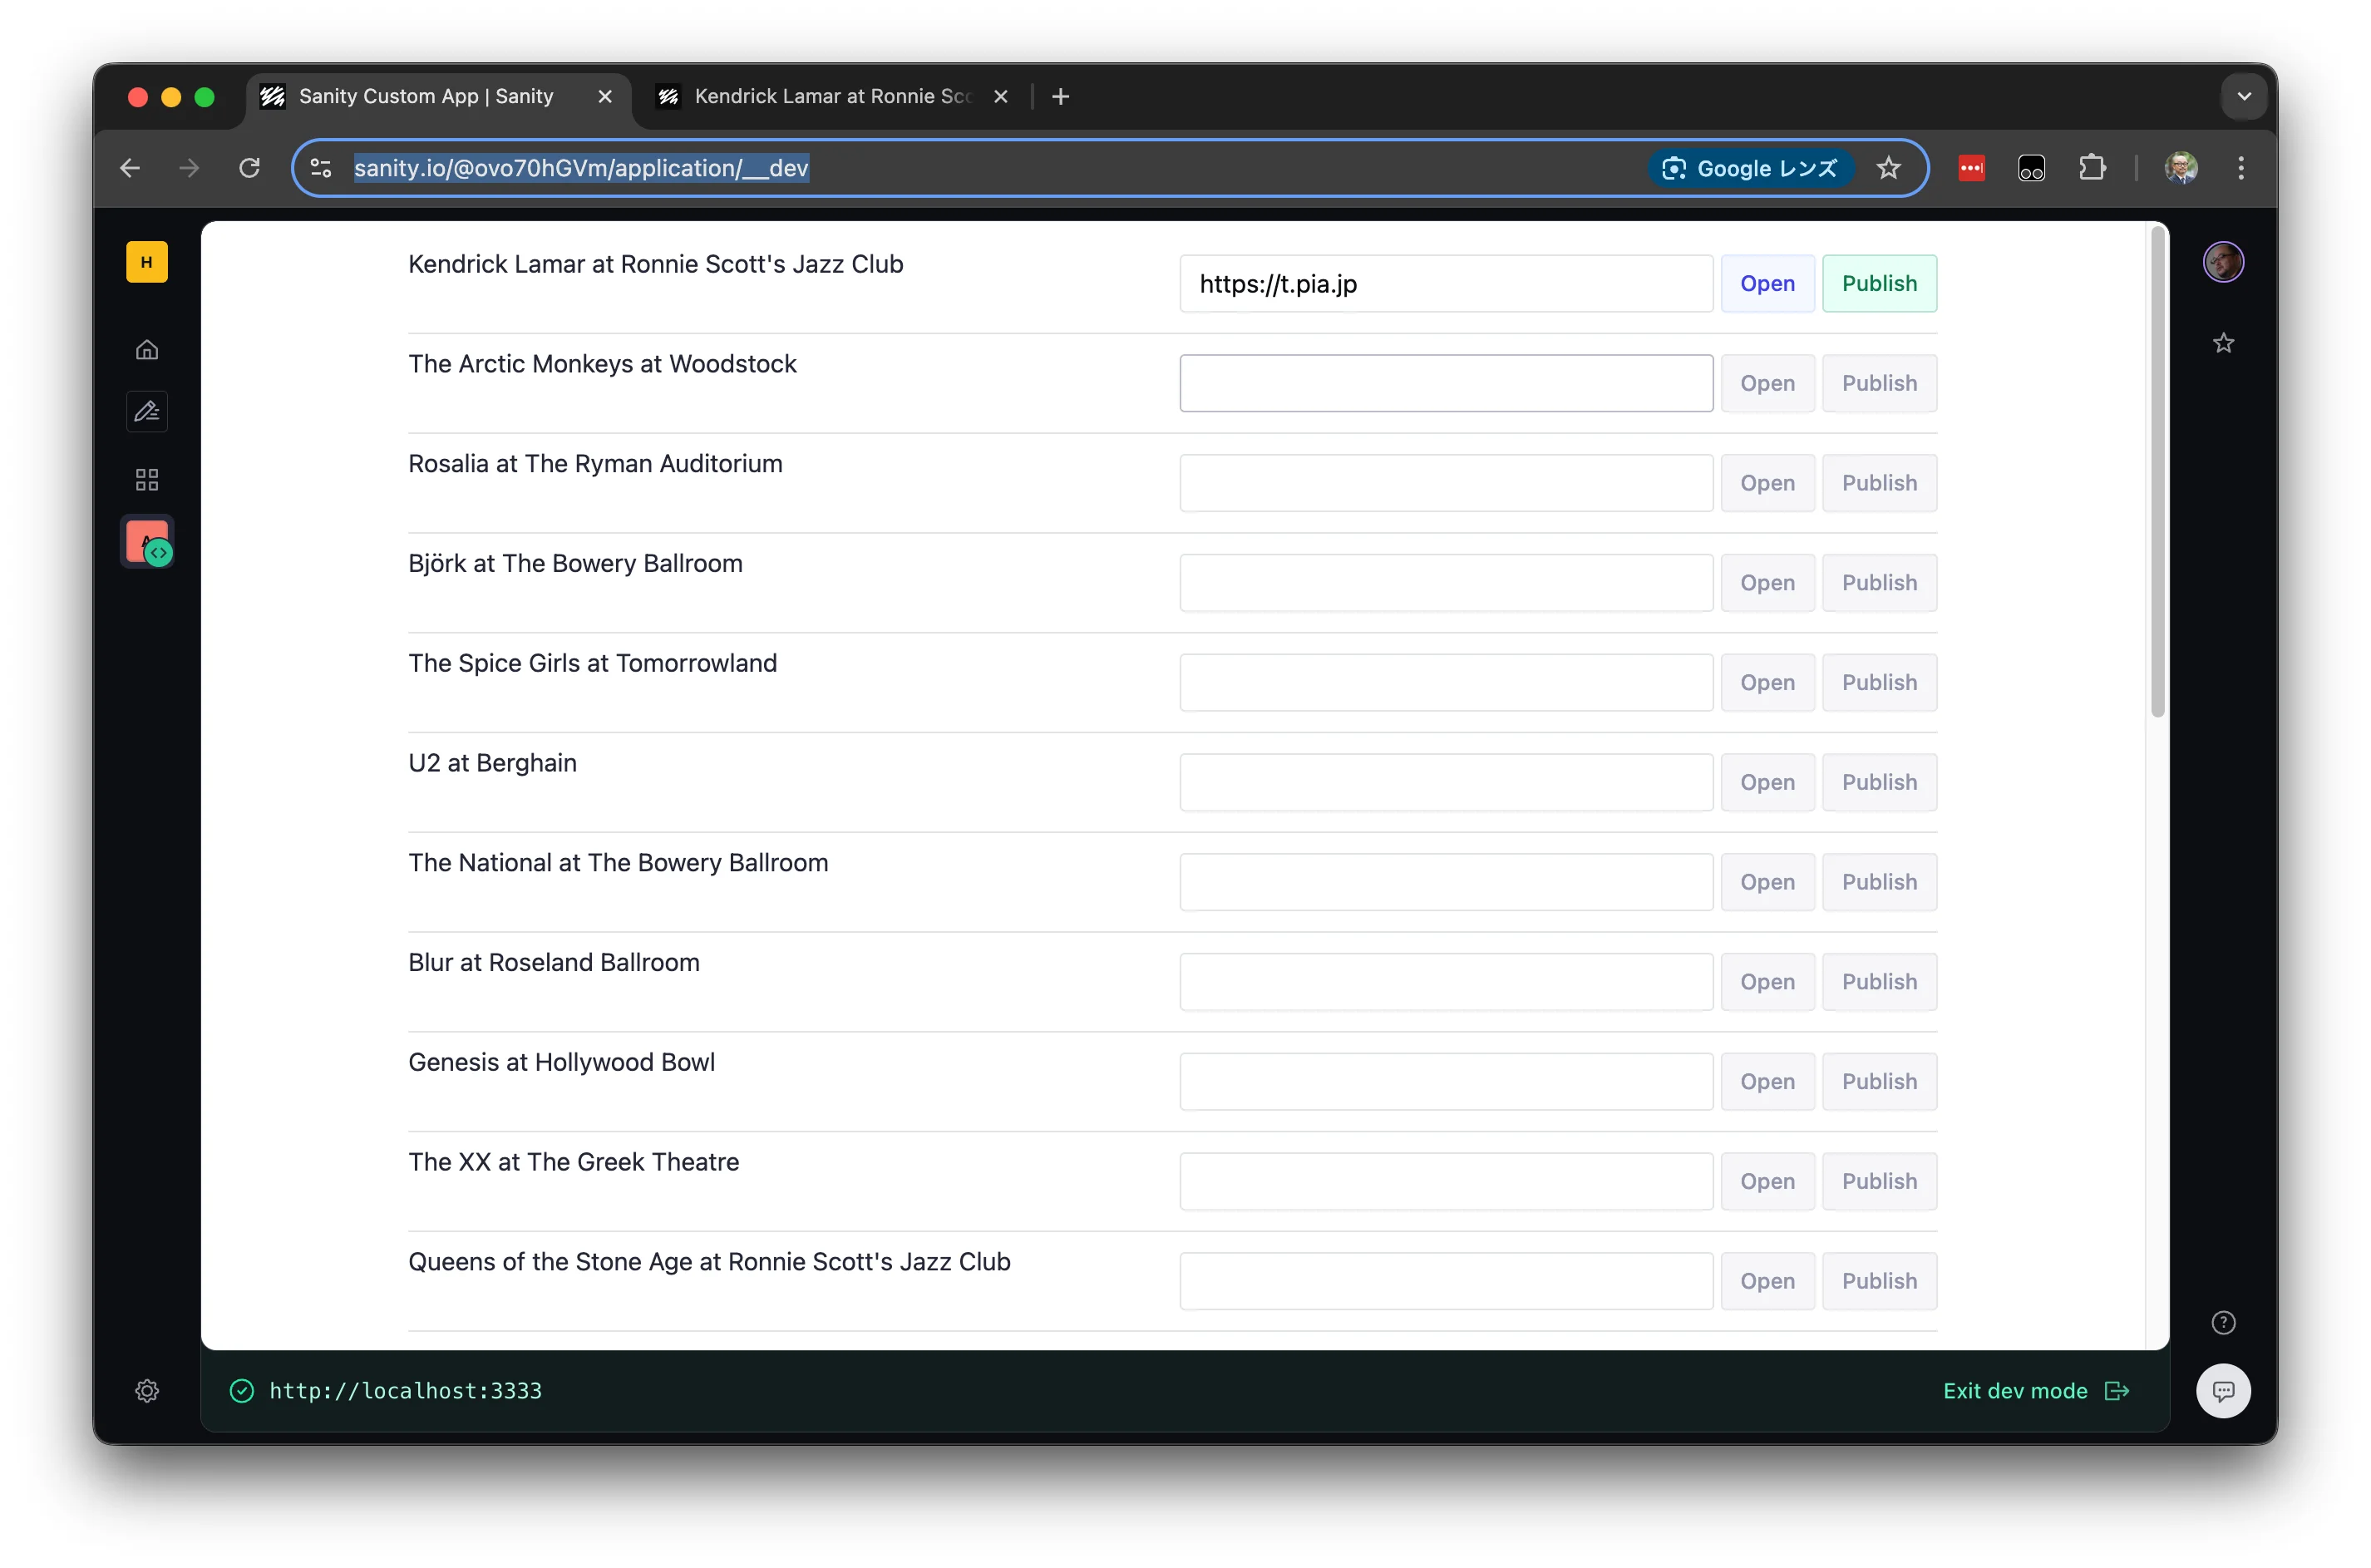
}完了すると、以下のように画面が更新されます。
動作確認
例えば、Kendrick Lamar at Ronnie Scott’s Jazz Club のイベントの tickets の項目に Studio を通じて URL を設定します。
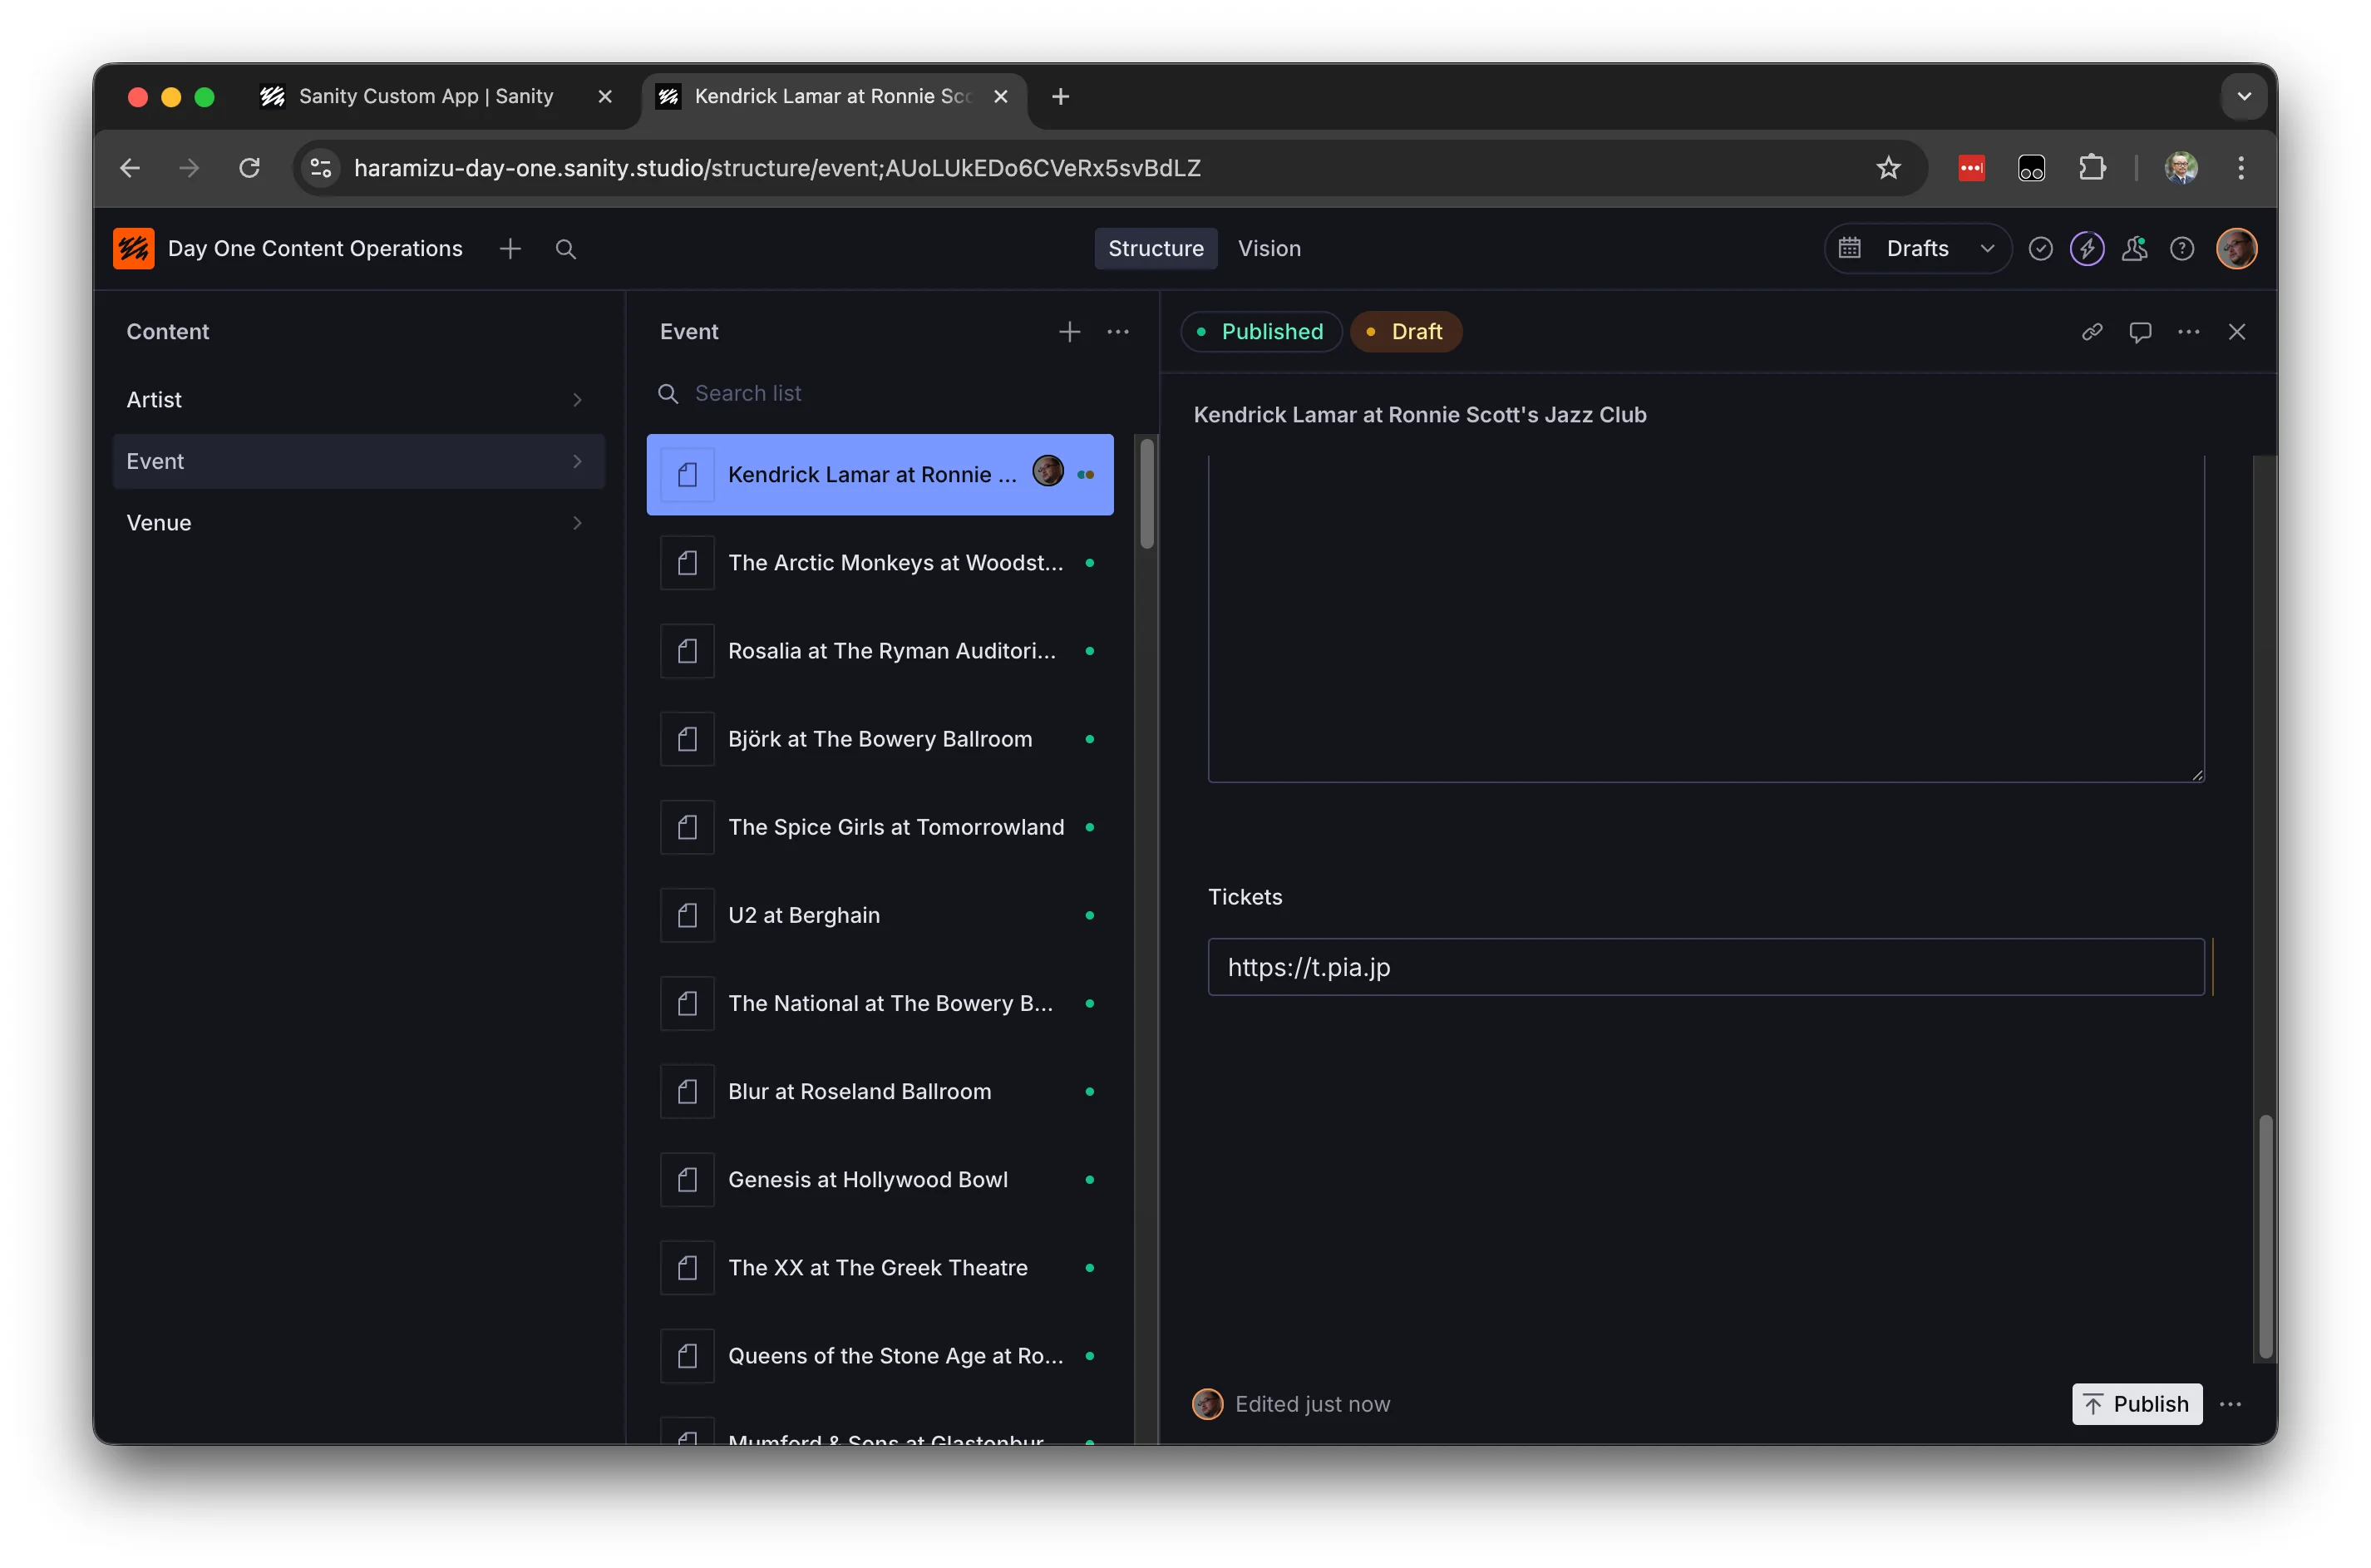
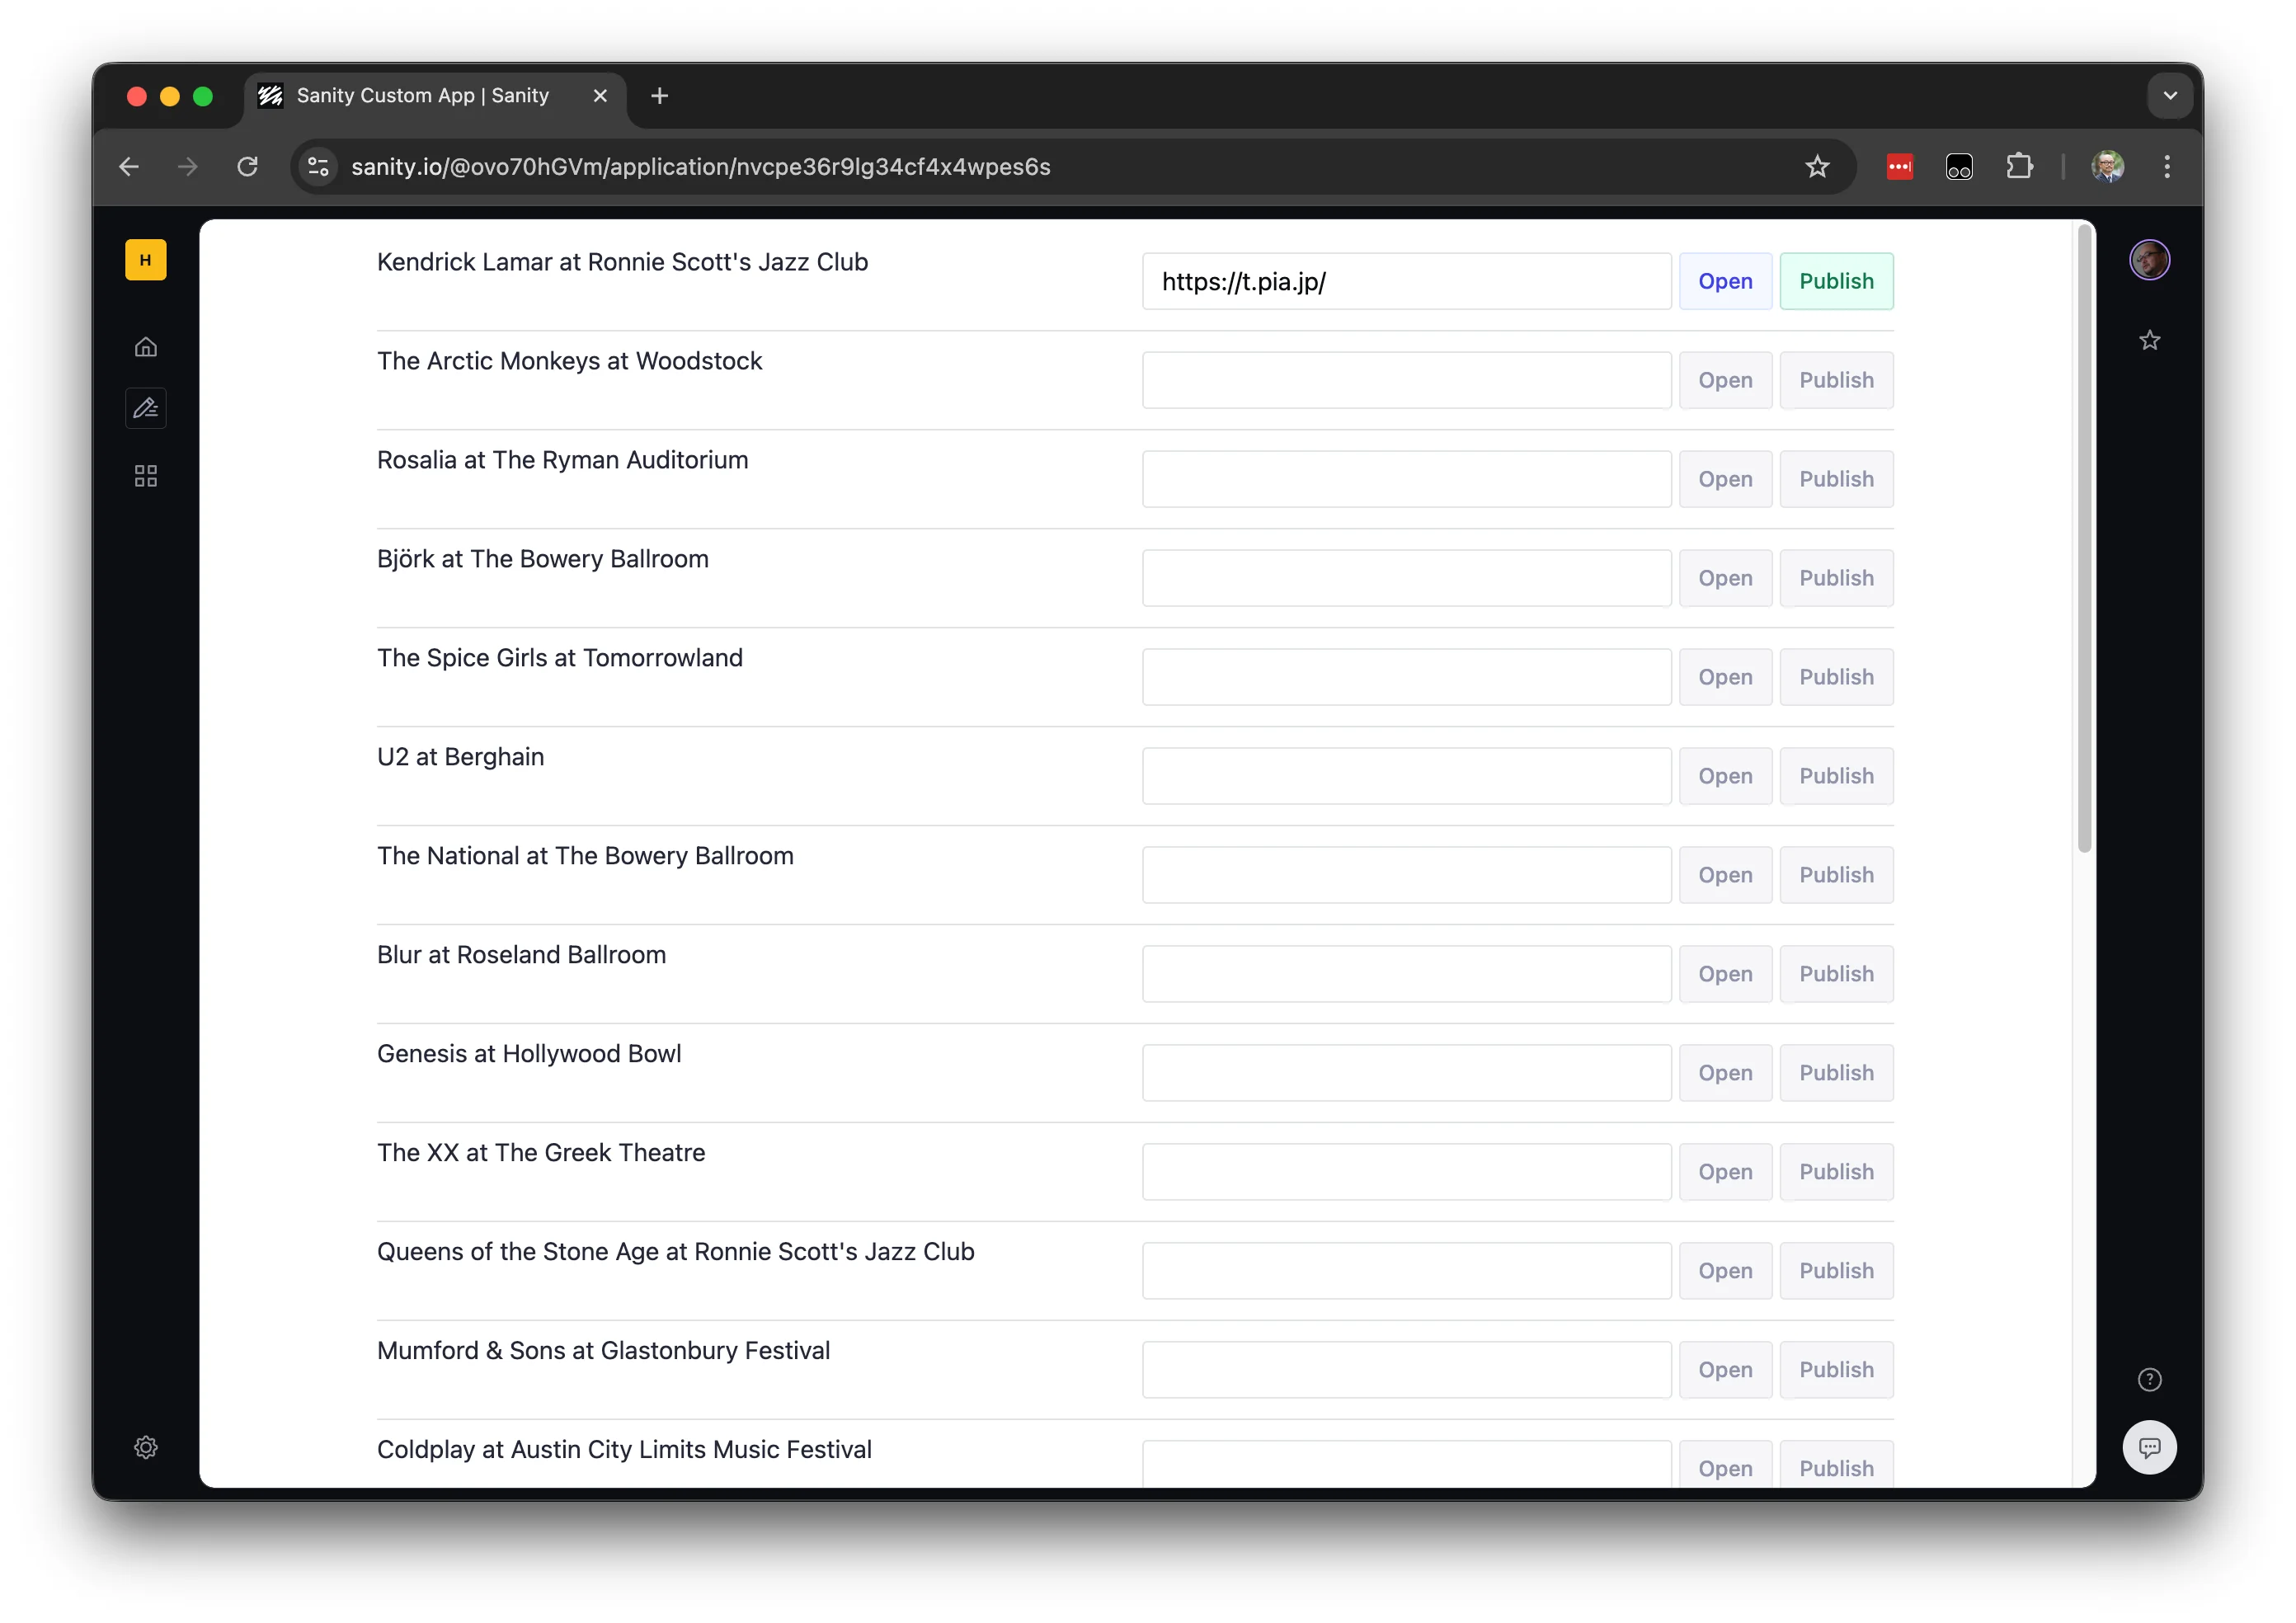
作成をしたアプリを開くと、この URL が反映されていることがわかります。
このアプリで Publish のボタンをクリックすると、公開が完了します。逆のパターンも可能で、このアプリで変更したデータは Studio で開いているデータにも反映されます。
アプリを展開する
作成をしたアプリを展開したいと思います。展開の手順は非常に簡単で、今回は apps/tickets の下で以下のコマンドを実行するだけとなります。
npx sanity deploy実行するとアプリ名の確認となります。

上記の画面に sanity.cli.ts に id を追加するというメッセージが表示されています。この設定を入れることで、更新したにもう一度展開する時に、アプリの選択をするのを省略できます。
import { defineCliConfig } from "sanity/cli";
export default defineCliConfig({
app: {
organizationId: "orgid",
entry: "./src/App.tsx",
id: "a5c0hldizqpub5gngwc8w28k",
},
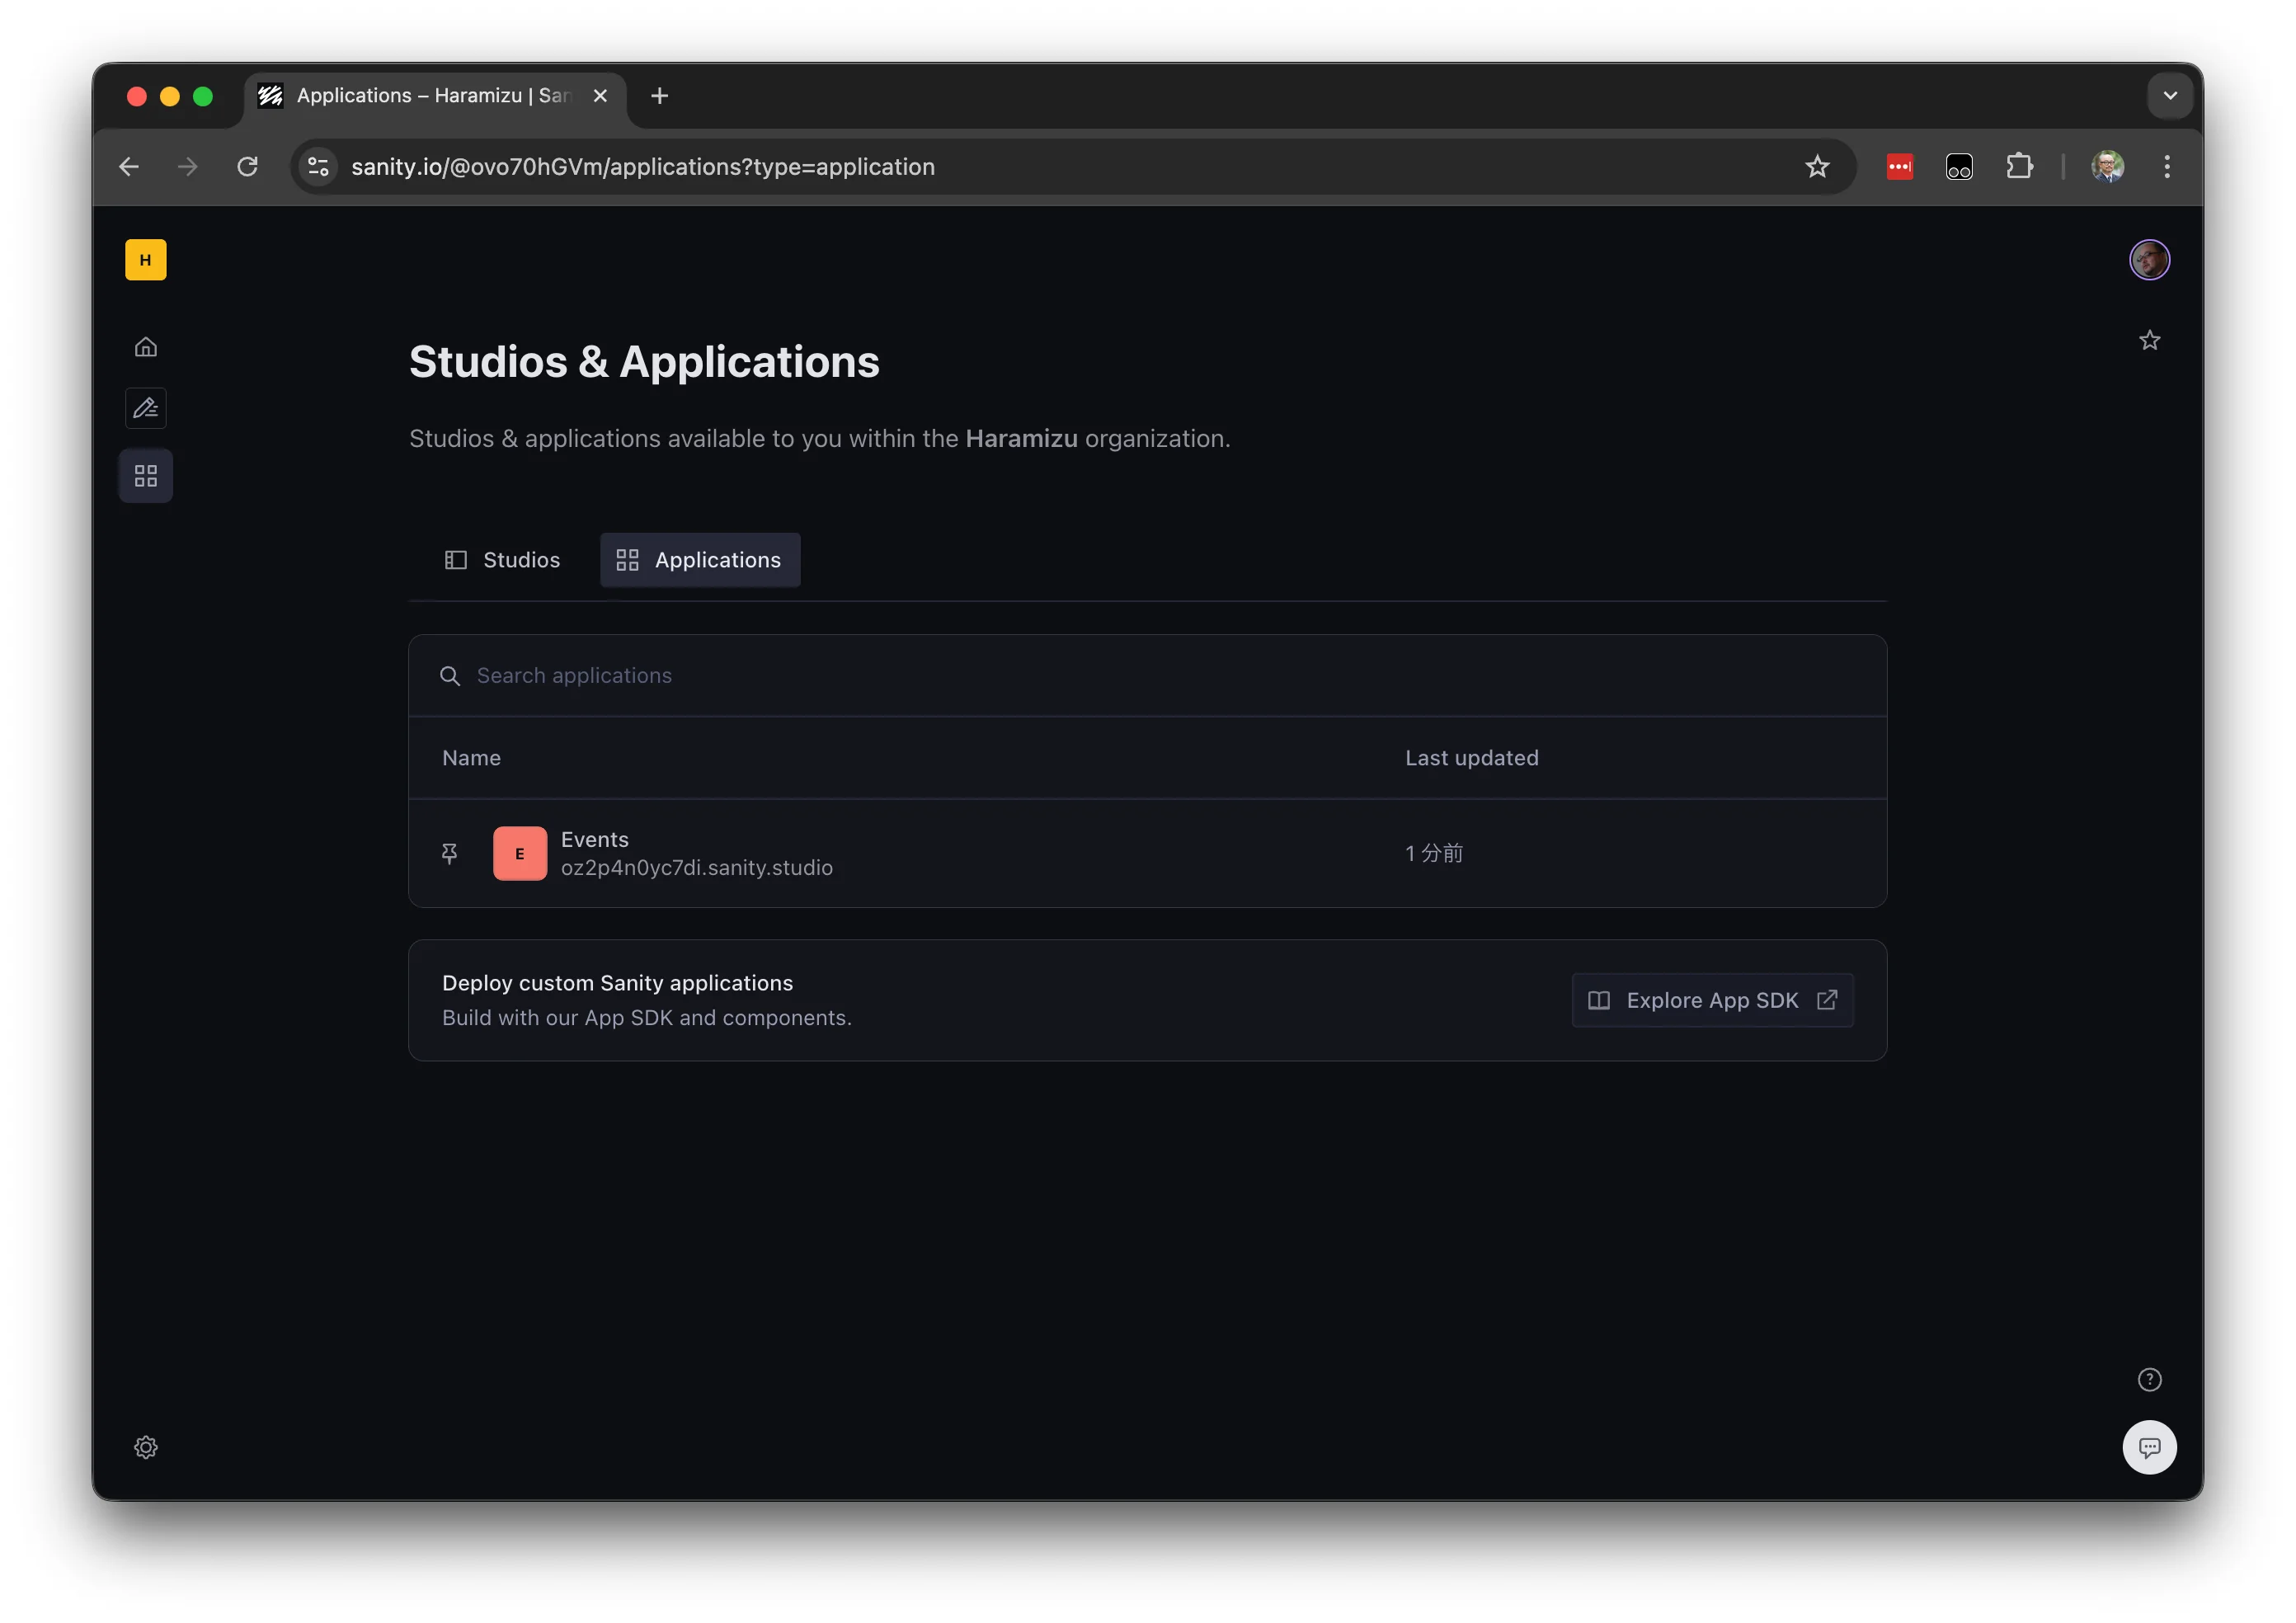
});展開をしたあと、Dashboard にアクセスをします。左側のメニューから Studio & Applications のメニューを選択、Applications に今回作成をしたアプリが含まれています。
クリックをすると以下のようなエラーが表示されます。
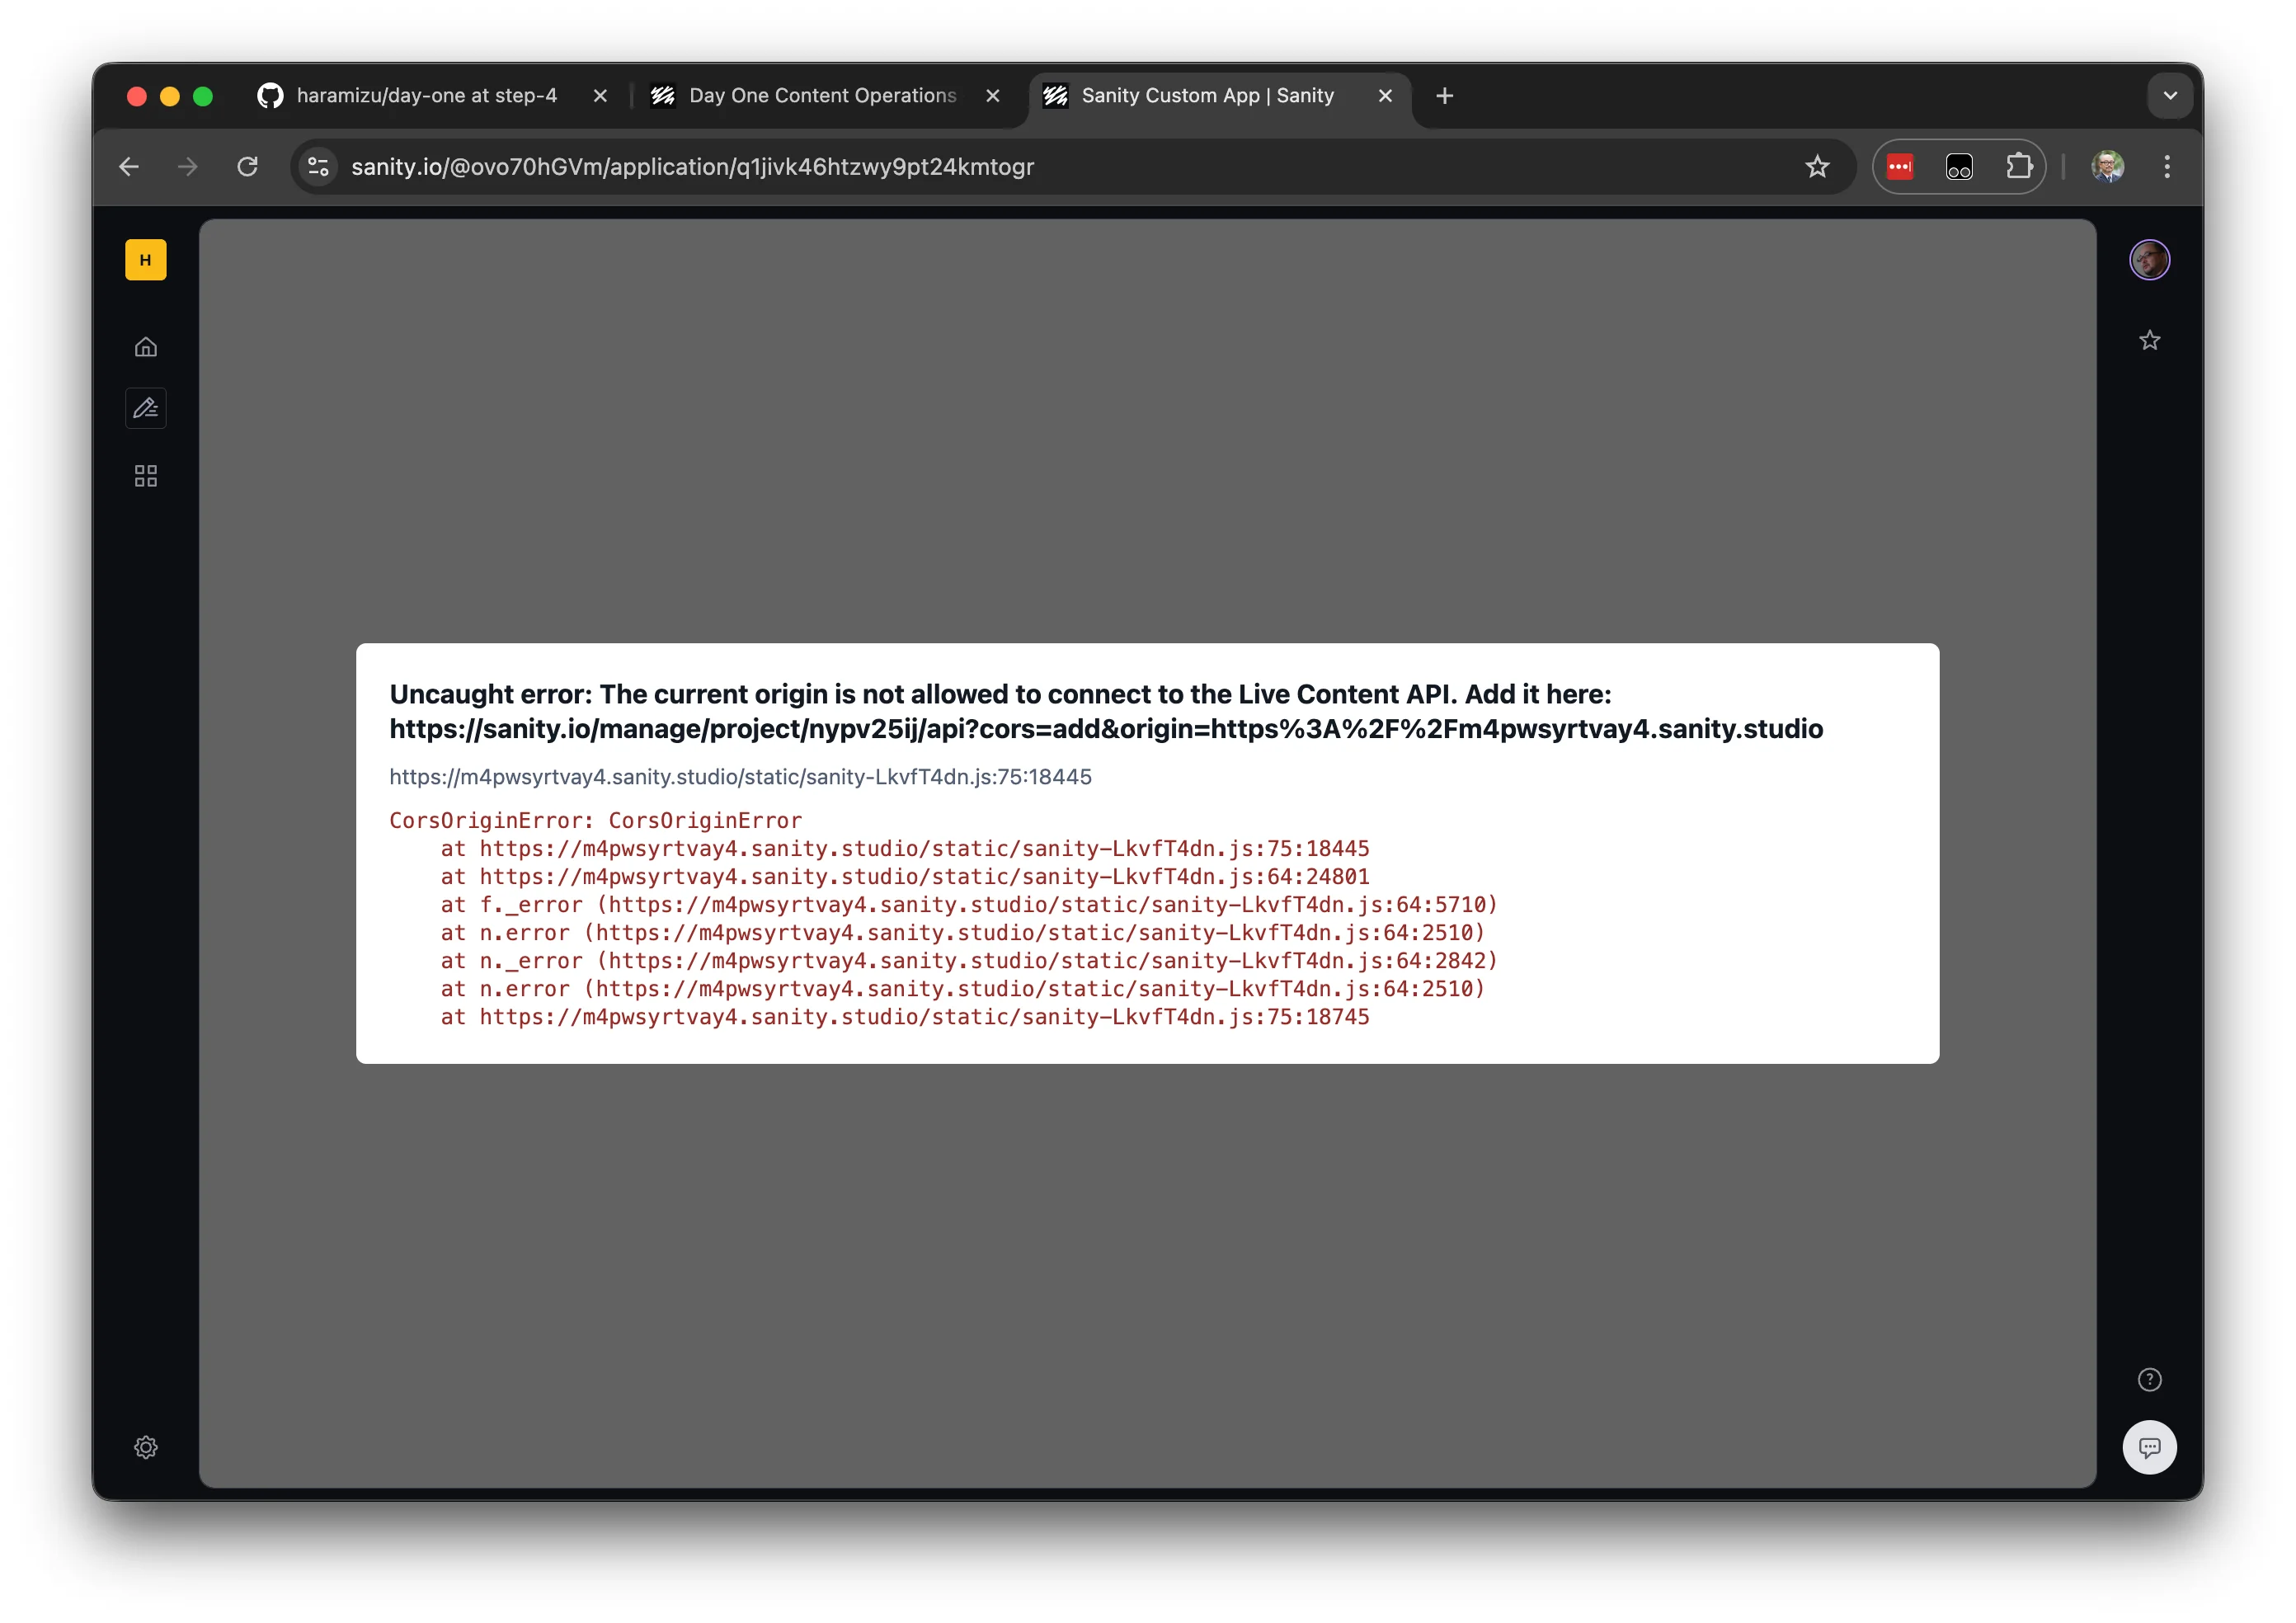
上記のエラー画面に表示されている URL をブラウザで開くと CORS の設定画面となります。

なお、上記のドメインの追加で必ず他と同様に Allowed になっていることを確認してください。展開に成功すると、以下のようにアプリが動作するようになります。
まとめ
今回はサンプルをそのまま動かしただけですが、Studio での UI とは異なる形でコンテンツの更新をすることが可能となりました。複数のコンテンツを跨いだ更新が多い場合や、コンテンツの一部だけ更新頻度が高い、といったケースではこのような更新画面を別途用意することで、サイト運用を効率化ができます。