
コンテンツの再構築
ブログのページの移行ができたので、残るはページのコンテンツを移行していきます。ページの使い方によってはこの手順はできませんが、基本機能ということで参考にしてください。
公式のコースでは、ページのタイプに合わせてインポートの処理を入れていくという形になっています。
私が提供しているサイトは、あまり凝ったことをしていないので Post の移行で利用したスクリプトを参照にしながら作成していきます。
ページコンテンツの移行
ページのコンテンツを移行するためのスクリプトを migrations/import-wp/lib/transformToPage.ts のファイルを作成して、以下のコードを準備しました。
import {decode} from 'html-entities'
import type {SanityClient} from 'sanity'
import type {WP_REST_API_Post} from 'wp-types'

import type {Page} from '../../../sanity.types'
import {htmlToBlockContent} from './htmlToBlockContent'
import {sanityIdToImageReference} from './sanityIdToImageReference'
import {sanityUploadFromUrl} from './sanityUploadFromUrl'
import {wpImageFetchXML} from './wpImageFetchXML'

// Remove these keys because they'll be created by Content Lake
type StagedPage = Omit<Page, '_createdAt' | '_updatedAt' | '_rev'>

export async function transformToPage(
  wpDoc: WP_REST_API_Post,
  client: SanityClient,
  existingImages: Record<string, string> = {},
): Promise<StagedPage> {
  const doc: StagedPage = {
    _id: `page-${wpDoc.id}`,
    _type: 'page',
  }

  doc.title = decode(wpDoc.title.rendered).trim()

  if (wpDoc.slug) {
    doc.slug = {_type: 'slug', current: wpDoc.slug}
  }

  if (wpDoc.date) {
    doc.date = wpDoc.date
  }

  if (wpDoc.modified) {
    doc.modified = wpDoc.modified
  }

  if (wpDoc.status) {
    doc.status = wpDoc.status as StagedPage['status']
  }

  // Document has an image
  if (typeof wpDoc.featured_media === 'number' && wpDoc.featured_media > 0) {
    // Image exists already in dataset
    if (existingImages[wpDoc.featured_media]) {
      doc.featuredMedia = sanityIdToImageReference(existingImages[wpDoc.featured_media])
    } else {
      // Retrieve image details from WordPress
      const metadata = await wpImageFetchXML(wpDoc.featured_media)

      if (metadata?.source?.url) {
        // Upload to Sanity
        const asset = await sanityUploadFromUrl(metadata.source.url, client, metadata)

        if (asset) {
          doc.featuredMedia = sanityIdToImageReference(asset._id)
          existingImages[wpDoc.featured_media] = asset._id
        }
      }
    }
  }

  if (wpDoc.content) {
    doc.content = await htmlToBlockContent(wpDoc.content.rendered, client, existingImages)
  }

  return doc
}
変更点は、私のブログではページにカテゴリ、タグなどを利用していない点などがあるため項目を減らし、Post ではなく Page への処理のため変数名を変更した形です。
続いて、移行スクリプトを実行した際に、上記のコードを参照するようにコードを変更します。
import { transformToPage } from './lib/transformToPage'

// add page type function
              } else if (wpType === 'pages') {
                wpDoc = wpDoc as WP_REST_API_Post
                const doc = await transformToPage(wpDoc, client, existingImages)
                return doc
              } else if (wpType === 'categories') {
これで一通り準備が完了しました。以下のコマンドを実行して、page の処理を実行します。
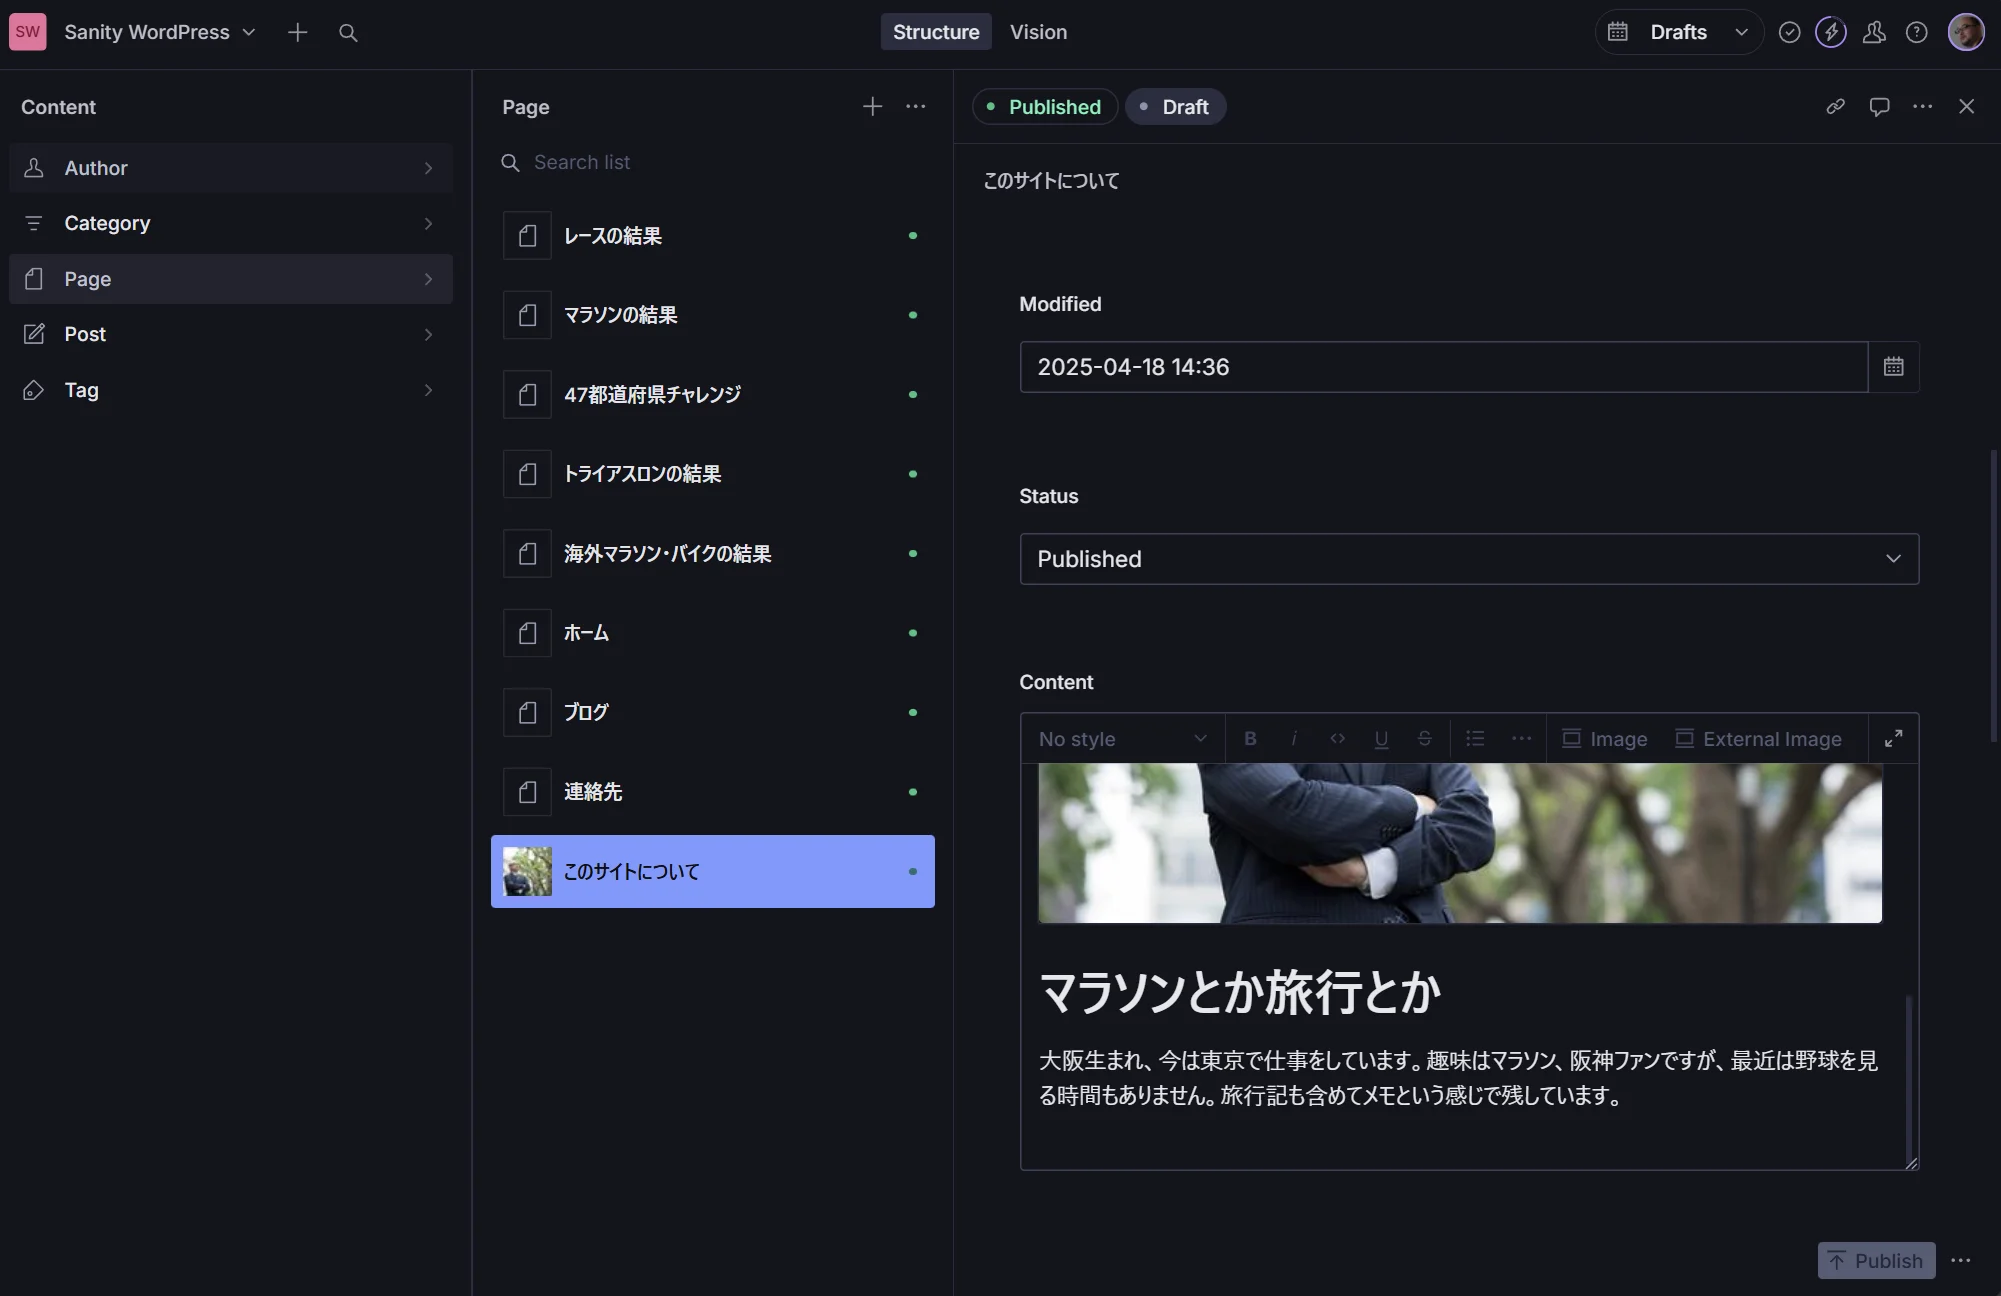
npx sanity@latest migration run import-wp --no-dry-run --type=pages処理が完了すると、以下のように Post のコンテンツも移行することができました。
注意点
今回の移行は、私が作成していた Wordpress のサイトからの移行の手順をまとめていますが、Portable Text がテーブルに関しての部分が標準で対応していないため拡張する必要があります。この部分は、移行ではなく拡張のところで別途紹介していきたいと思います。
まとめ
いくつかのプロセスに分けて Wordpress から Sanity にデータの移行をしました。様々なコンテンツのタイプを Wordpress で利用している場合は追加の手順が必要となりますが、今回の処理の基本を押さえて、追加でやればより多くのタイプのコンテンツタイプを移行することができると思います。
移行に関しての手順はいったんここまで、このあとブログに仕上げる部分は別途まとめていきます。
ここまでのコードは、以下のリポジトリで公開をしています。