
ポータブルテキストエディタのカスタマイズ
Sanity の Portable Text Editor は標準的な HTML を扱うところまで用意されています。また、カスタムコンポーネントを作成することで、例えば地図情報と合わせたお店の情報、という形の定型のコンテンツに関して簡単に扱えるようにしたいといったコンテンツを入れることも可能です。今回は Portable Text Editor にカスタムのコンテンツの項目を追加するための手順をまとめます。
地図情報コンポーネントの作成
まず最初に、地図情報をページで利用するための基本的な情報を以下のように定義します。
- 地名 - string
- 公式サイト - url
- 緯度 - number
- 経度 - number
これを定義するスキーマタイプのファイルを追加します。
import { defineType } from "sanity";

export const mapsType = defineType({
  name: 'maps',
  title: 'Maps',
  type: 'object',
  fields: [
    {
      name: 'placeName',
      title: 'Place Name',
      type: 'string',
    },
    {
      name: 'href',
      title: 'Website URL',
      type: 'url',
    },
    {
      name: 'latitude',
      title: 'Latitude',
      type: 'number',
    },
    {
      name: 'longitude',
      title: 'Longitude',
      type: 'number',
    },
  ],
  preview: {
    select: {
      content: 'content',
    },
  },
})
続いてこの項目を Portable Text の定義に追加します。参考までに以下が全体のコードです。アイコンを利用したいため、EarthGlobeIcon のアイコンを追加しています。
import {defineField} from 'sanity'
import { defineArrayMember } from "sanity";
import { EarthGlobeIcon } from '@sanity/icons';

export const portableTextType = defineField({
  name: 'portableText',
  title: 'Block Content',
  type: 'array',
  of: [
    defineArrayMember({
      type: 'block',
      styles: [
        {title: 'Normal', value: 'normal'},
        {title: 'H2', value: 'h2'},
        {title: 'H3', value: 'h3'},
        {title: 'H4', value: 'h4'},
        {title: 'Quote', value: 'blockquote'},
      ],
      lists: [{title: 'Bullet', value: 'bullet'}],
      marks: {
        decorators: [
          {title: 'Strong', value: 'strong'},
          {title: 'Emphasis', value: 'em'},
        ],
        annotations: [
          {
            title: 'URL',
            name: 'link',
            type: 'object',
            fields: [
              {
                title: 'URL',
                name: 'href',
                type: 'url',
              },
            ],
          },
        ],
      },
    }),
    defineArrayMember({
      type: 'image',
      options: {hotspot: true},
      fields: [
        {
          name: 'alt',
          type: 'string',
          title: 'Alternative Text',
        },
      ],
    }),
    {
      type: 'maps',
      icon: EarthGlobeIcon
    },
    {type: 'markdown'},
  ],
})
最後に、maps.tx に関して index.ts に追加の定義をします。参考までに、すべてのコードを記載していますが、追加しているのは maps.ts 関連のコードのみです。
import type { SchemaTypeDefinition } from "sanity";
import { authorType } from "./author";
import { categoryType } from "./category";
import { postType } from "./post";
import { portableTextType } from "./portableText";
import { tagType } from "./tag";
import { pageType } from "./pageType";
import { markdownType } from "./markdown";
import { mapsType } from "./maps";

export const schema: { types: SchemaTypeDefinition[] } = {
  types: [
    postType,
    pageType,
    categoryType,
    tagType,
    authorType,
    portableTextType,
    markdownType,
    mapsType
  ],
};
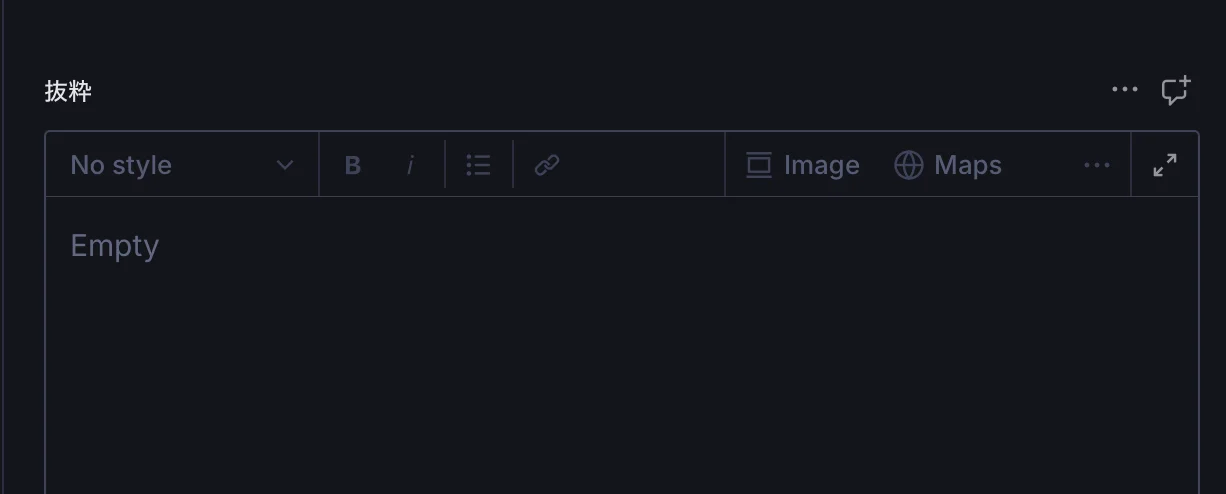
これで基本的な設定は完了しました。それではブラウザで画面を確認していきます。まず、対象となる Portable Text のフィールドを参照すると Maps という項目が追加されています。
実際にアイコンをクリックすると以下のようなダイアログが開きます。
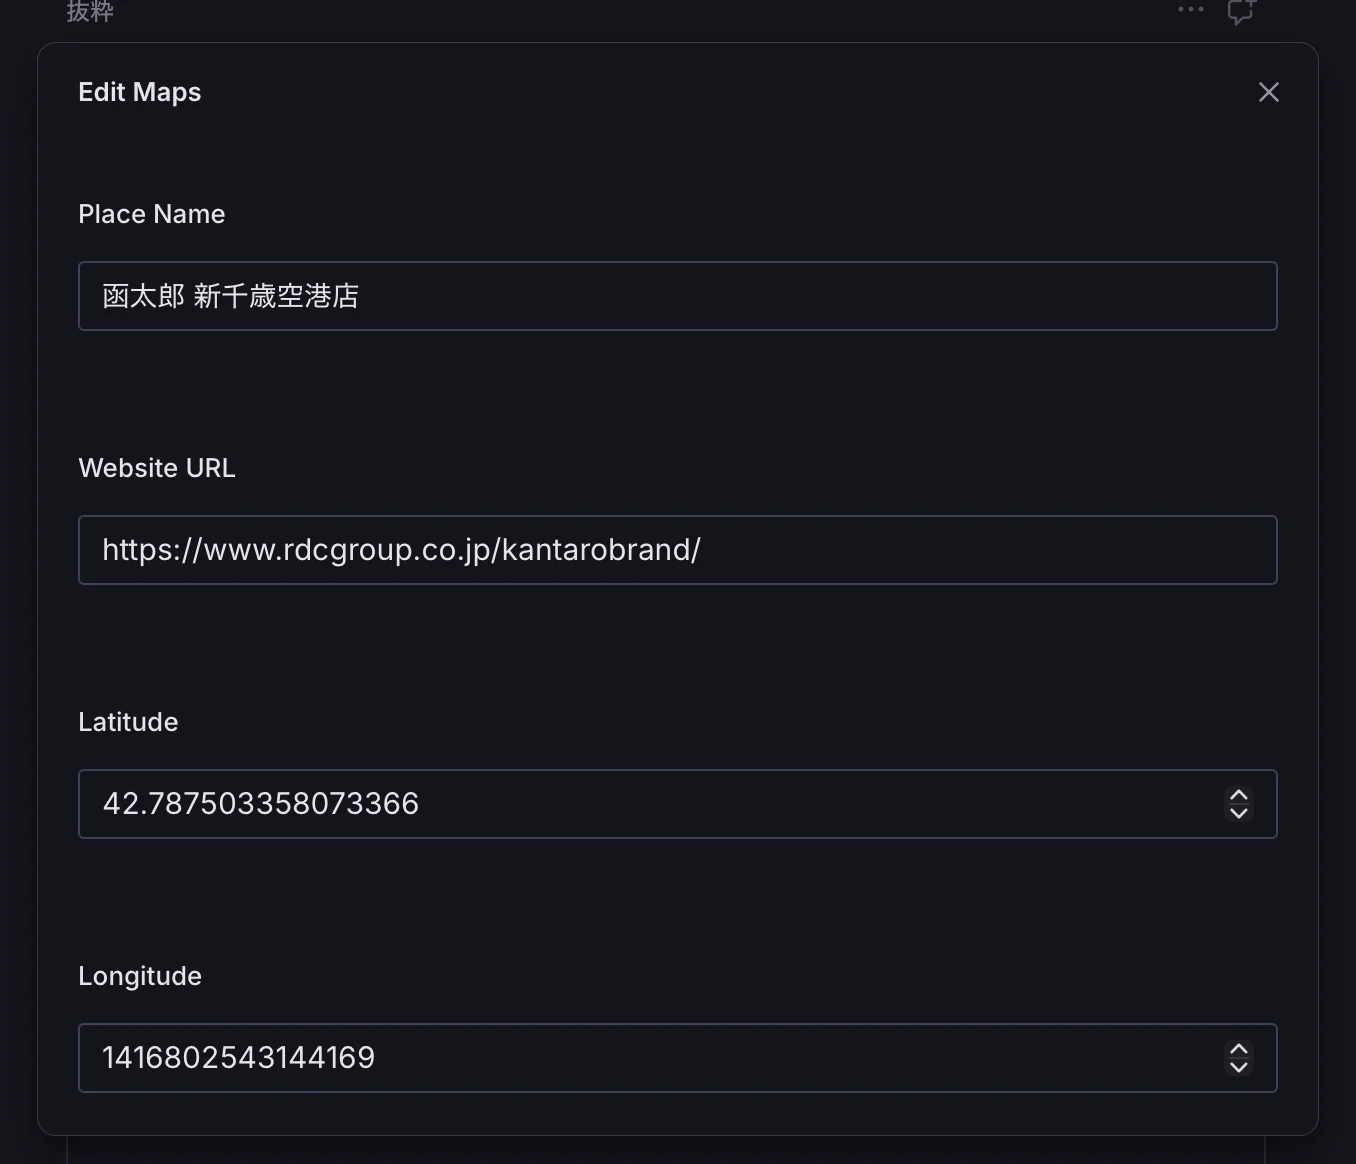
データの入力までの作業に関しては、これだけで作業が完了することになります。
プレビューの作成
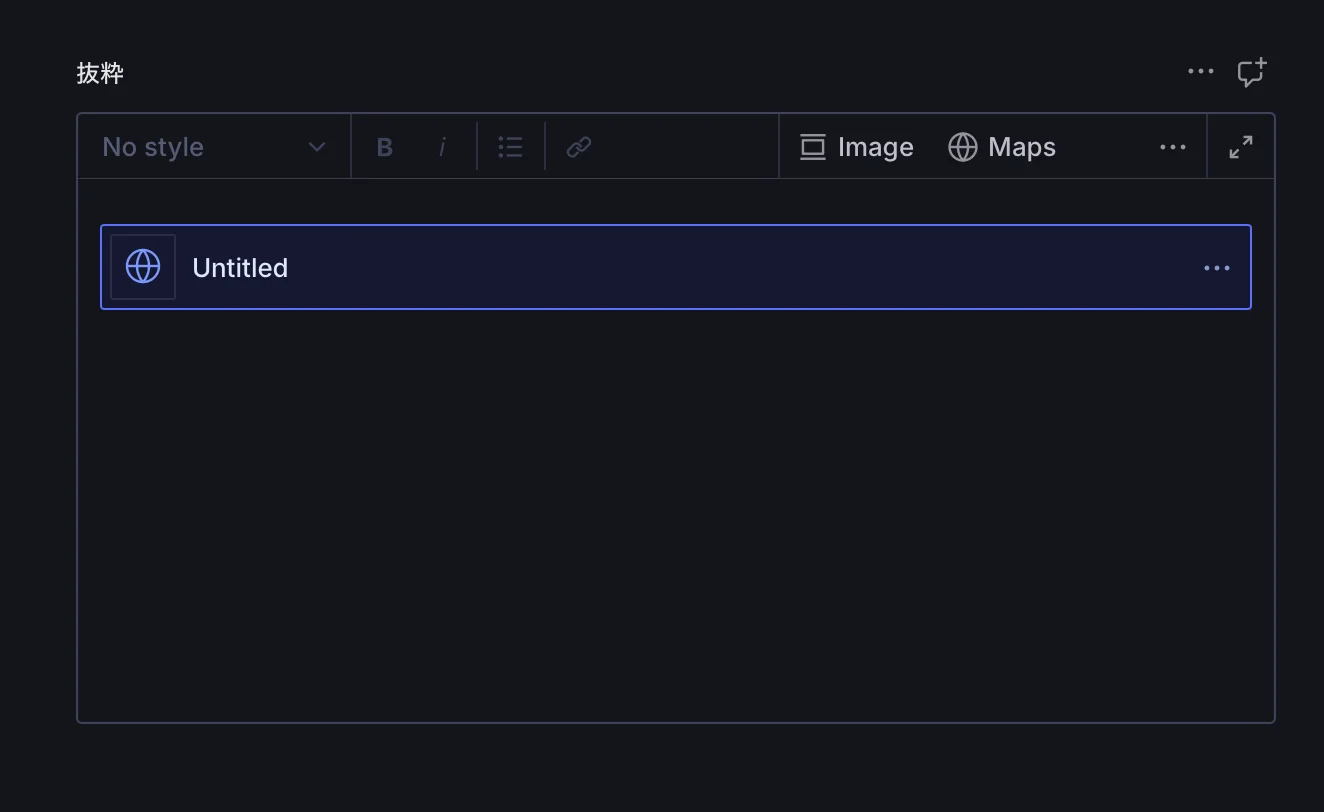
実際に入力した情報に関してのプレビューの部分をまだ作成していません。今の段階では以下のような形で表示されます。
入力したデータを表示するためのプレビューコンポーネントを作成していきます。今回は以下のファイルを作成します。
import type { PreviewProps } from "sanity";

interface MapsPreviewProps extends PreviewProps {
  placeName?: string
  href?: URL
  latitude?: number
  longitude?: number
}

export default function MapsPreview(props: MapsPreviewProps) {
  const {placeName, href, latitude, longitude} = props

  return (
    <div className="maps-preview prose" style={{all: 'revert'}}>
      {placeName && <h3>Place Name:{placeName}</h3>}
      {href && (
        <p>
          <a href={String(href)} target="_blank" rel="noreferrer">
            {String(href)}
          </a>
        </p>
      )}
      {(latitude || longitude) && (
        <p>
          Latitude: {latitude ?? 'Unknown'}, Longitude: {longitude ?? 'Unknown'}
        </p>
      )}
    </div>
  )
}
このコンポーネントを利用してプレビューを表示する形で、maps.ts のファイルを以下の部分を更新します。import の追加と、preview などのコードの変更になります。
import MapsPreview from "../components/MapsPreview";
  components: {
    preview: MapsPreview,
  },
  preview: {
    select: {
      placeName: 'placeName',
      href: 'href',
      latitude: 'latitude',
      longitude: 'longitude',
    },
  },
})
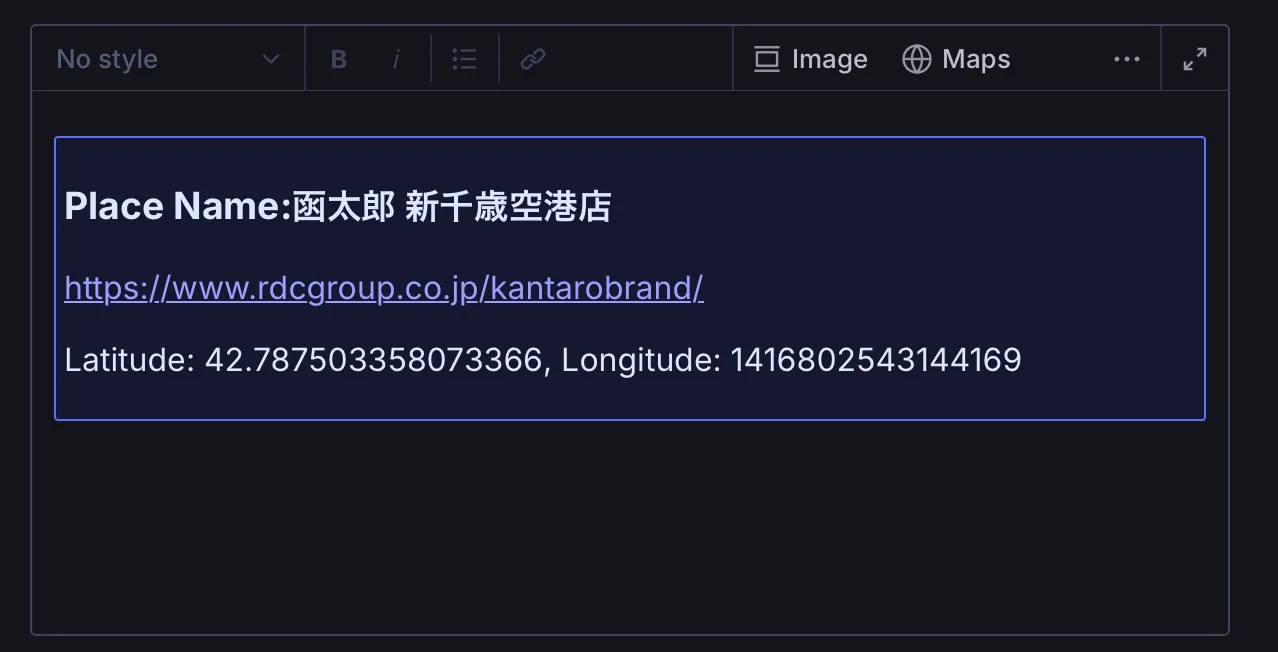
結果として、以下のようにプレビューで内容を確認できるようになりました。
データの確認
上記のデータがどのように GROQ で検索をすると表示されるのかを確認します。Vision で以下の GROQ を実行します。
*[_type == "post"&& slug.current == "sample"]
{ content }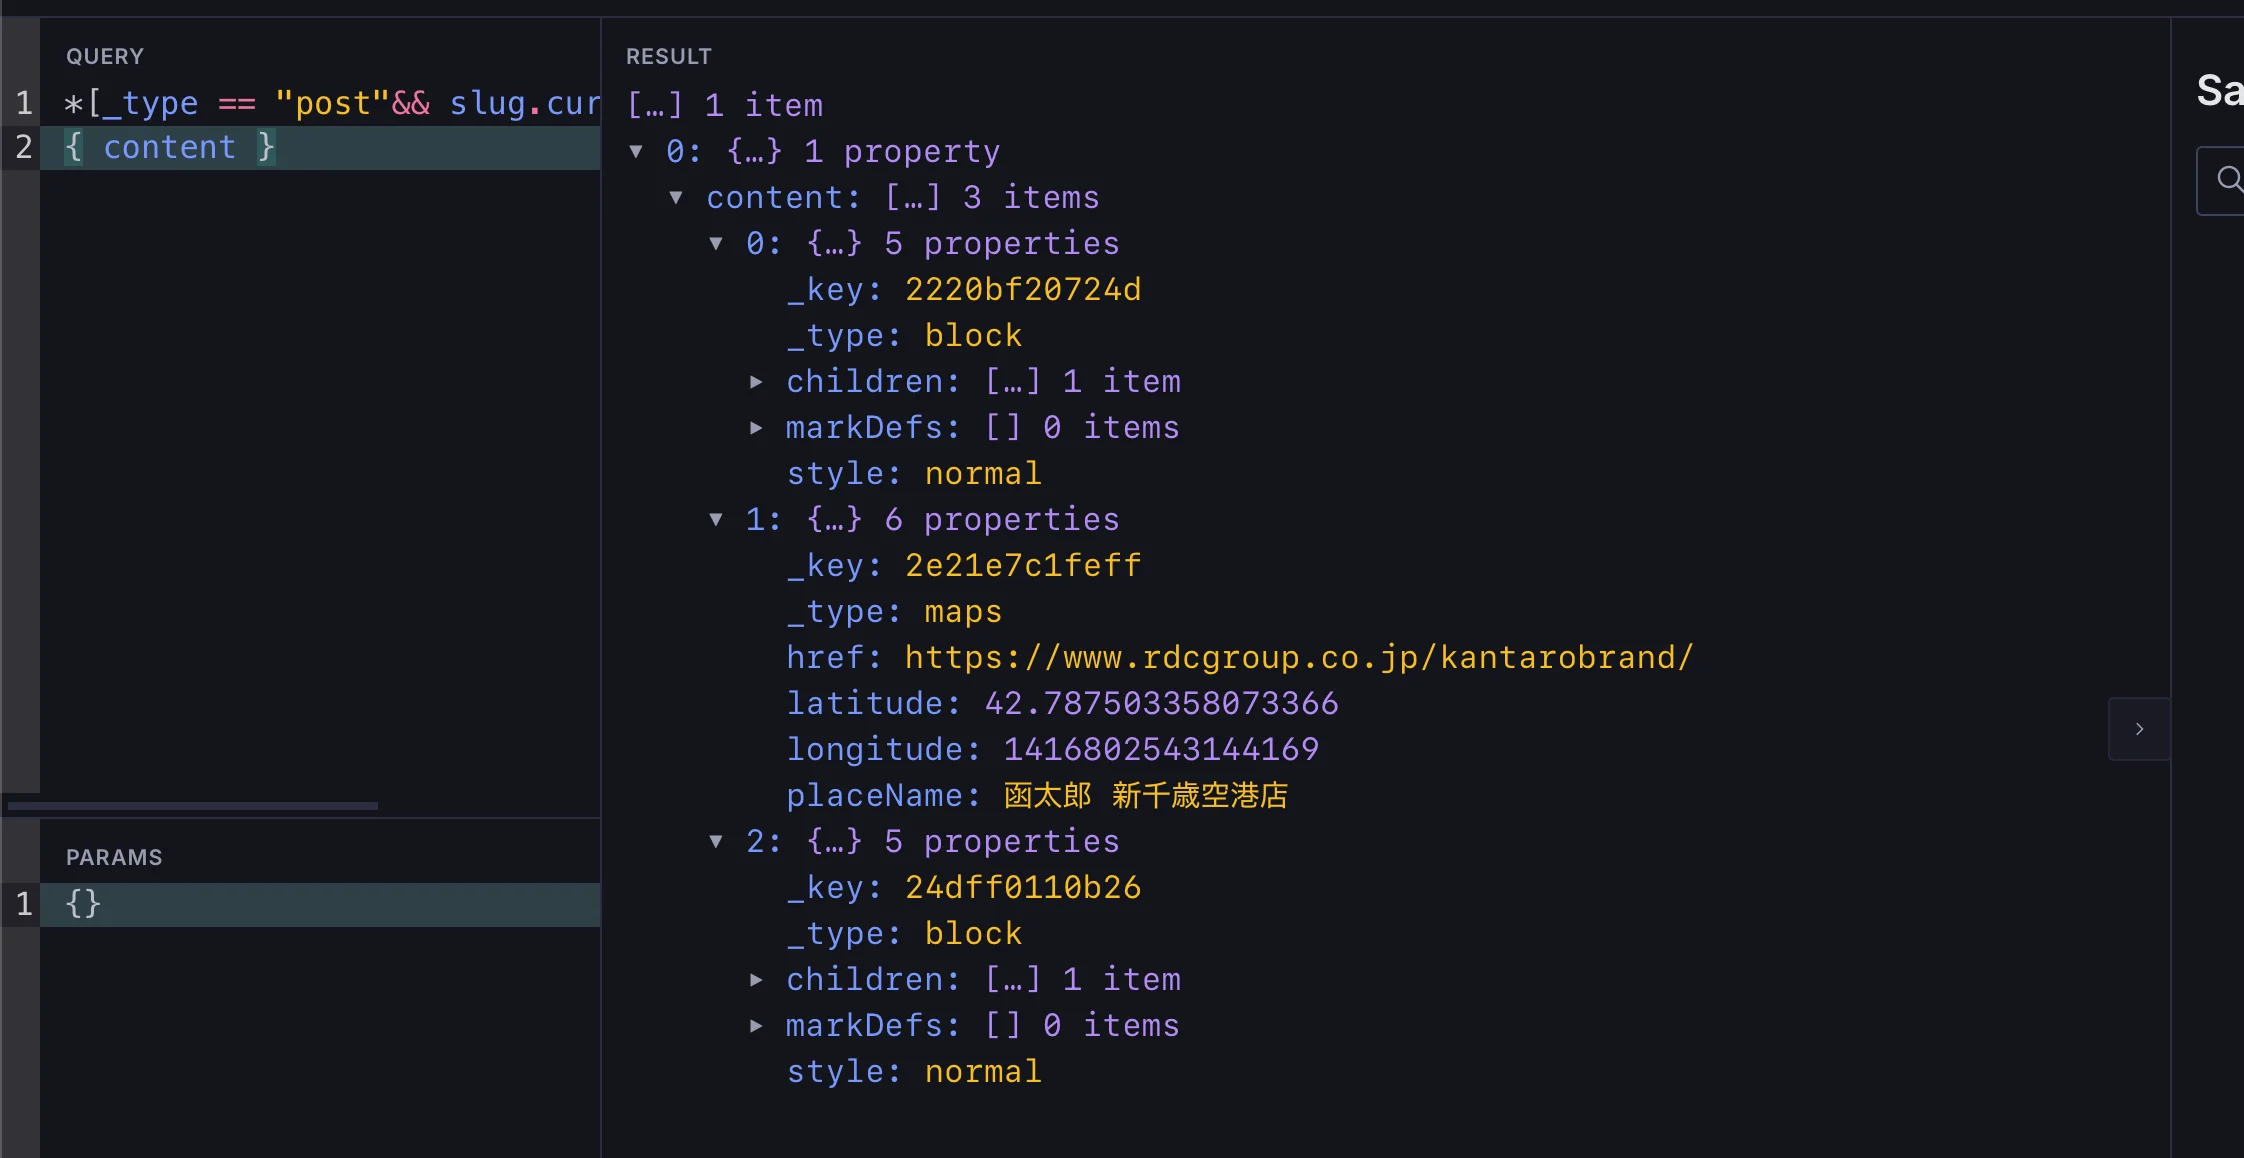
結果の JSON を確認すると以下のようなデータが返ってきています。
[
  {
    "content": [
      {
        "_key": "2220bf20724d",
        "_type": "block",
        "children": [
          {
            "_key": "a2a5534c36cd",
            "_type": "span",
            "marks": [],
            "text": "地図データ"
          }
        ],
        "markDefs": [],
        "style": "normal"
      },
      {
        "_key": "2e21e7c1feff",
        "_type": "maps",
        "href": "https://www.rdcgroup.co.jp/kantarobrand/",
        "latitude": 42.787503358073366,
        "longitude": 1416802543144169,
        "placeName": "函太郎 新千歳空港店"
      },
      {
        "_key": "24dff0110b26",
        "_type": "block",
        "children": [
          {
            "_key": "0e2ea0bd461e",
            "_type": "span",
            "marks": [],
            "text": ""
          }
        ],
        "markDefs": [],
        "style": "normal"
      }
    ]
  }
]
_type maps のデータとしてフロントエンドで処理をすれば、地図のデータとして表示することができます。
まとめ
今回は定型のデータを Portable Text のエリアに追加する手順を紹介しました。実際に地図データと Web サイトで展開するパターンに関しては、Next.js で地図データを入れるサンプルを参考にしてください。