
アセットのアップロード
この記事では、Wordpress のサービスにアップロードしている画像などをアップロードしていきます。なお、公式の手順は自分で Wordpress をホスティングをしている、もしくは有償のプランのみの手続きとなるため、ここでは別の手順で進めます。
なお、公式の手続きは以下のとおりです。
基本的にはこのページの手順で進めて行くので問題ありませんが、今回の記事では少しだけ前提条件を変えてその手順を紹介していきます。
メディアデータの取得
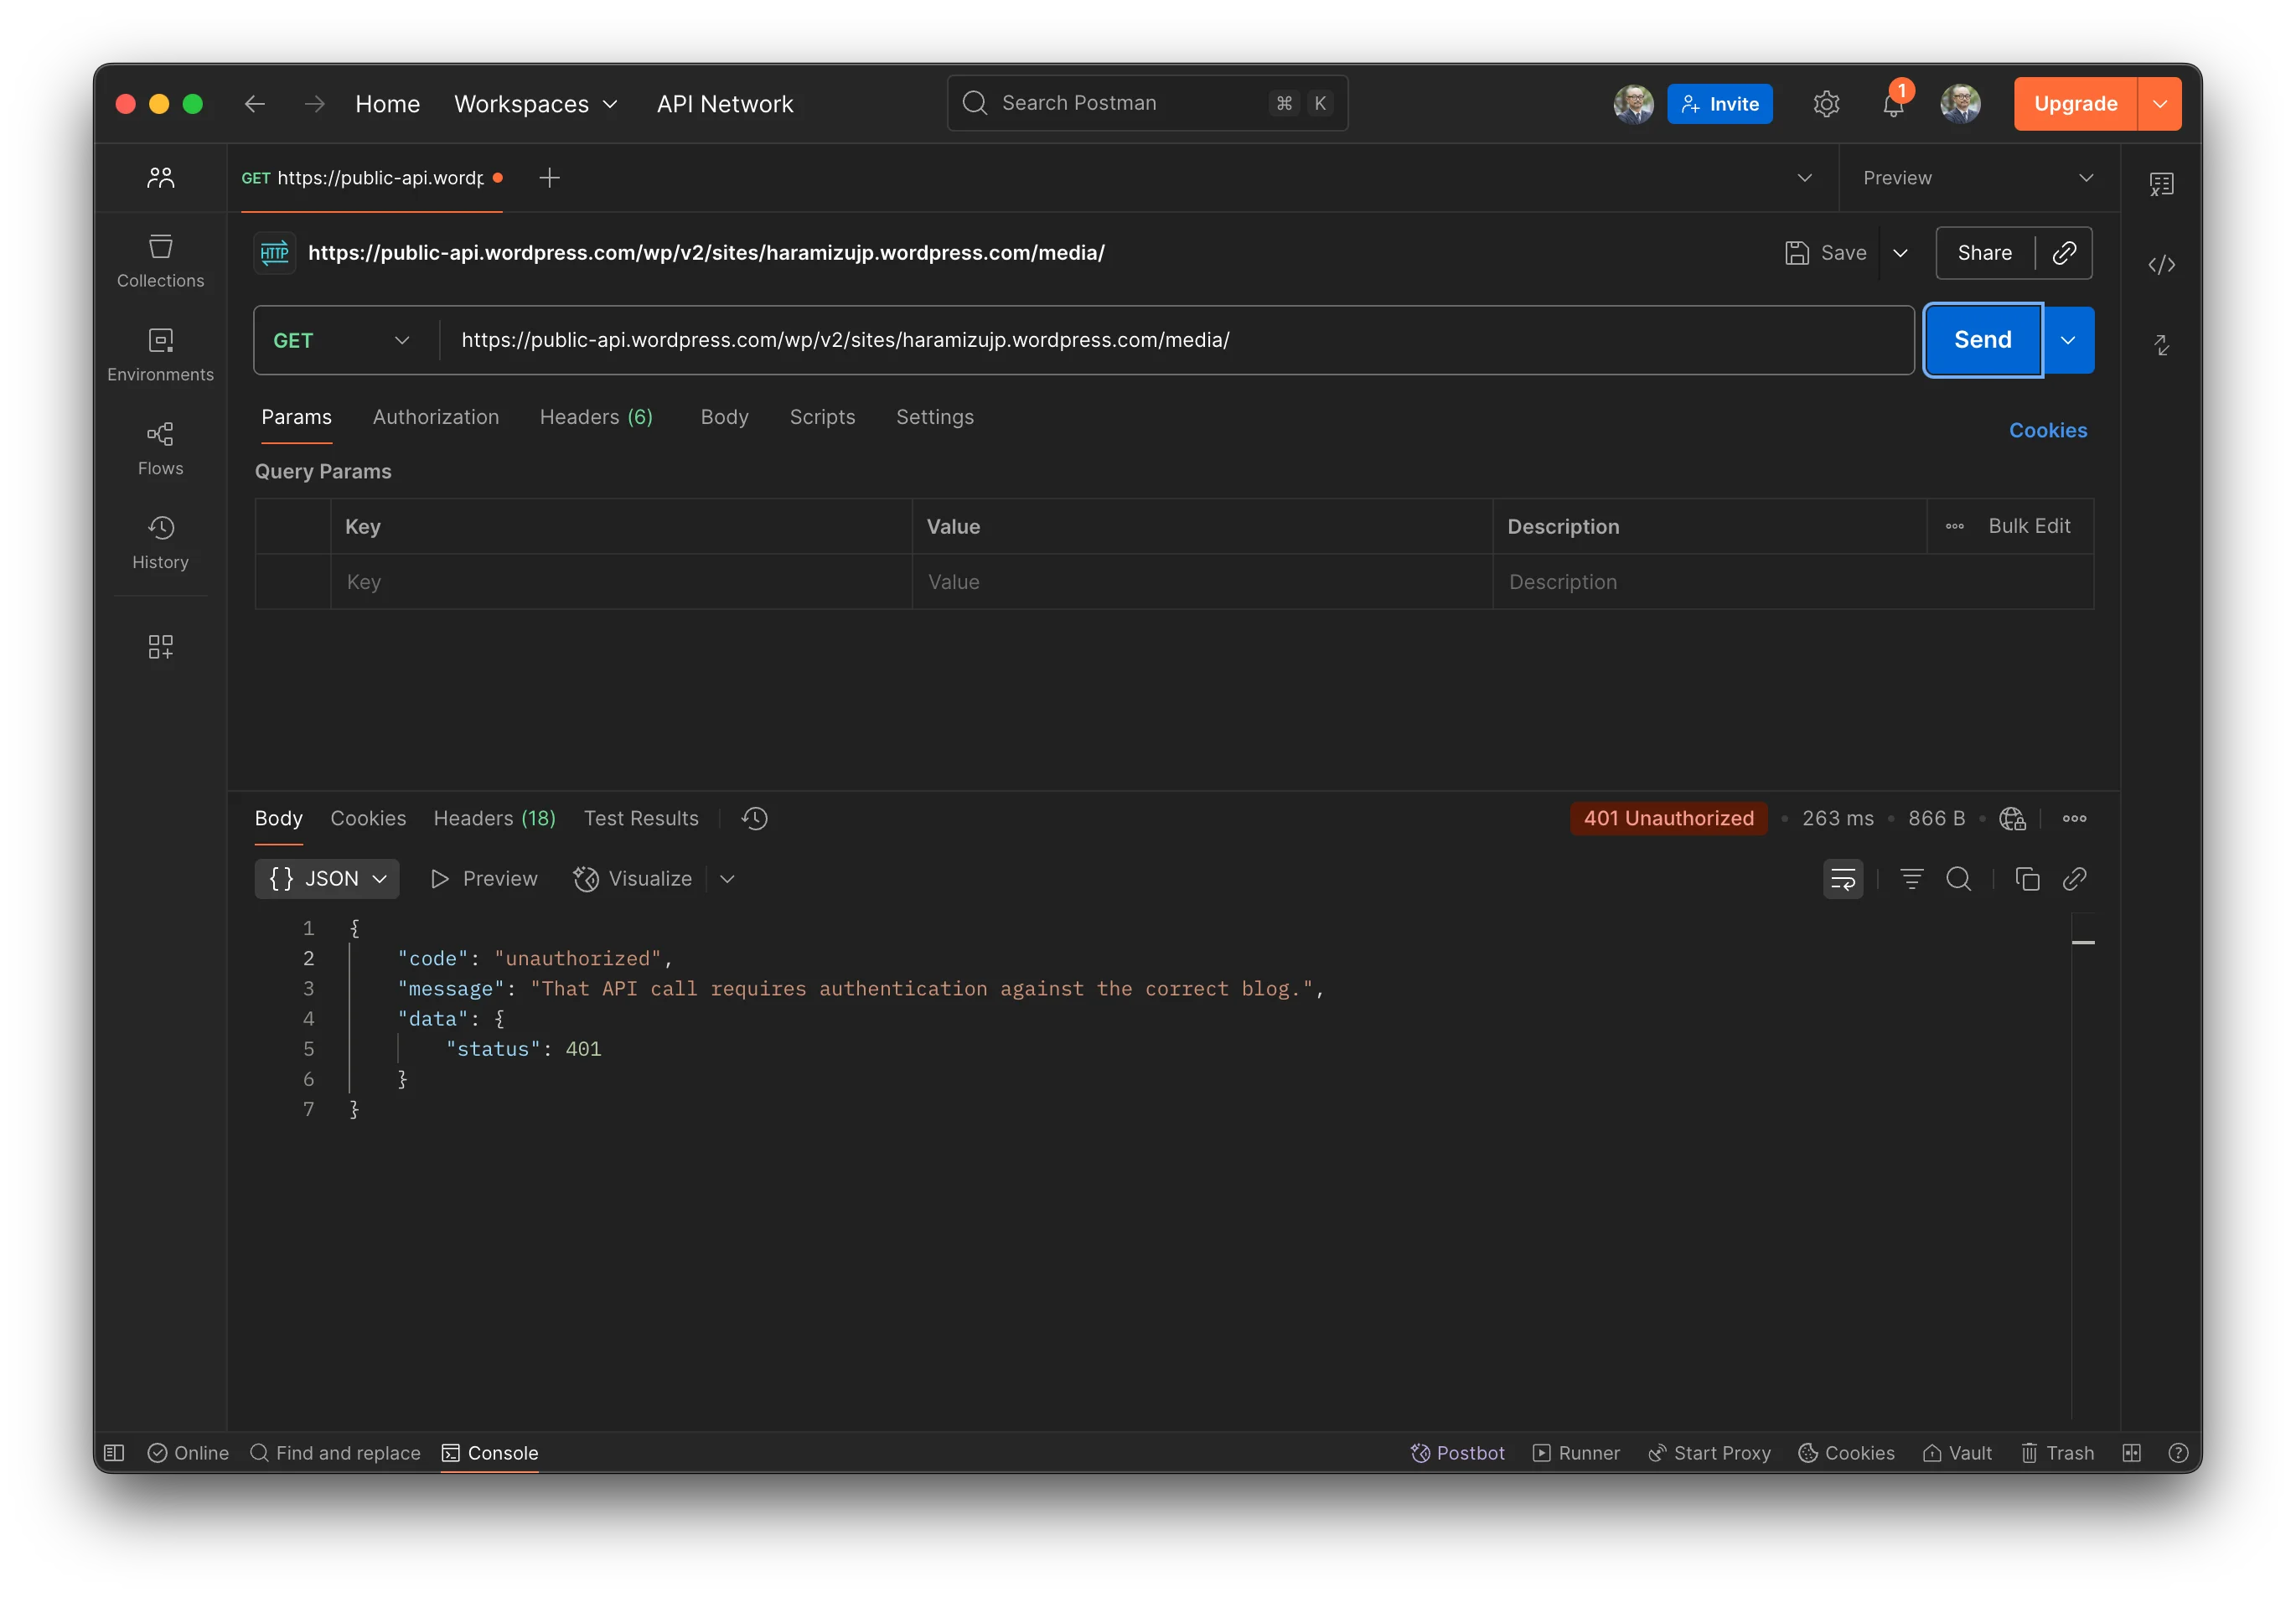
Wordpress から、メディアに関するデータを取得することが可能な REST API は用意されています。例えば、https://public-api.wordpress.com/wp/v2/sites/{site}.wordpress.com/media にアクセスをするとメディアの一覧を取得することが可能ですが、今回の対象となるデータを Postman で確認をすると以下のようにエラーが表示されています。
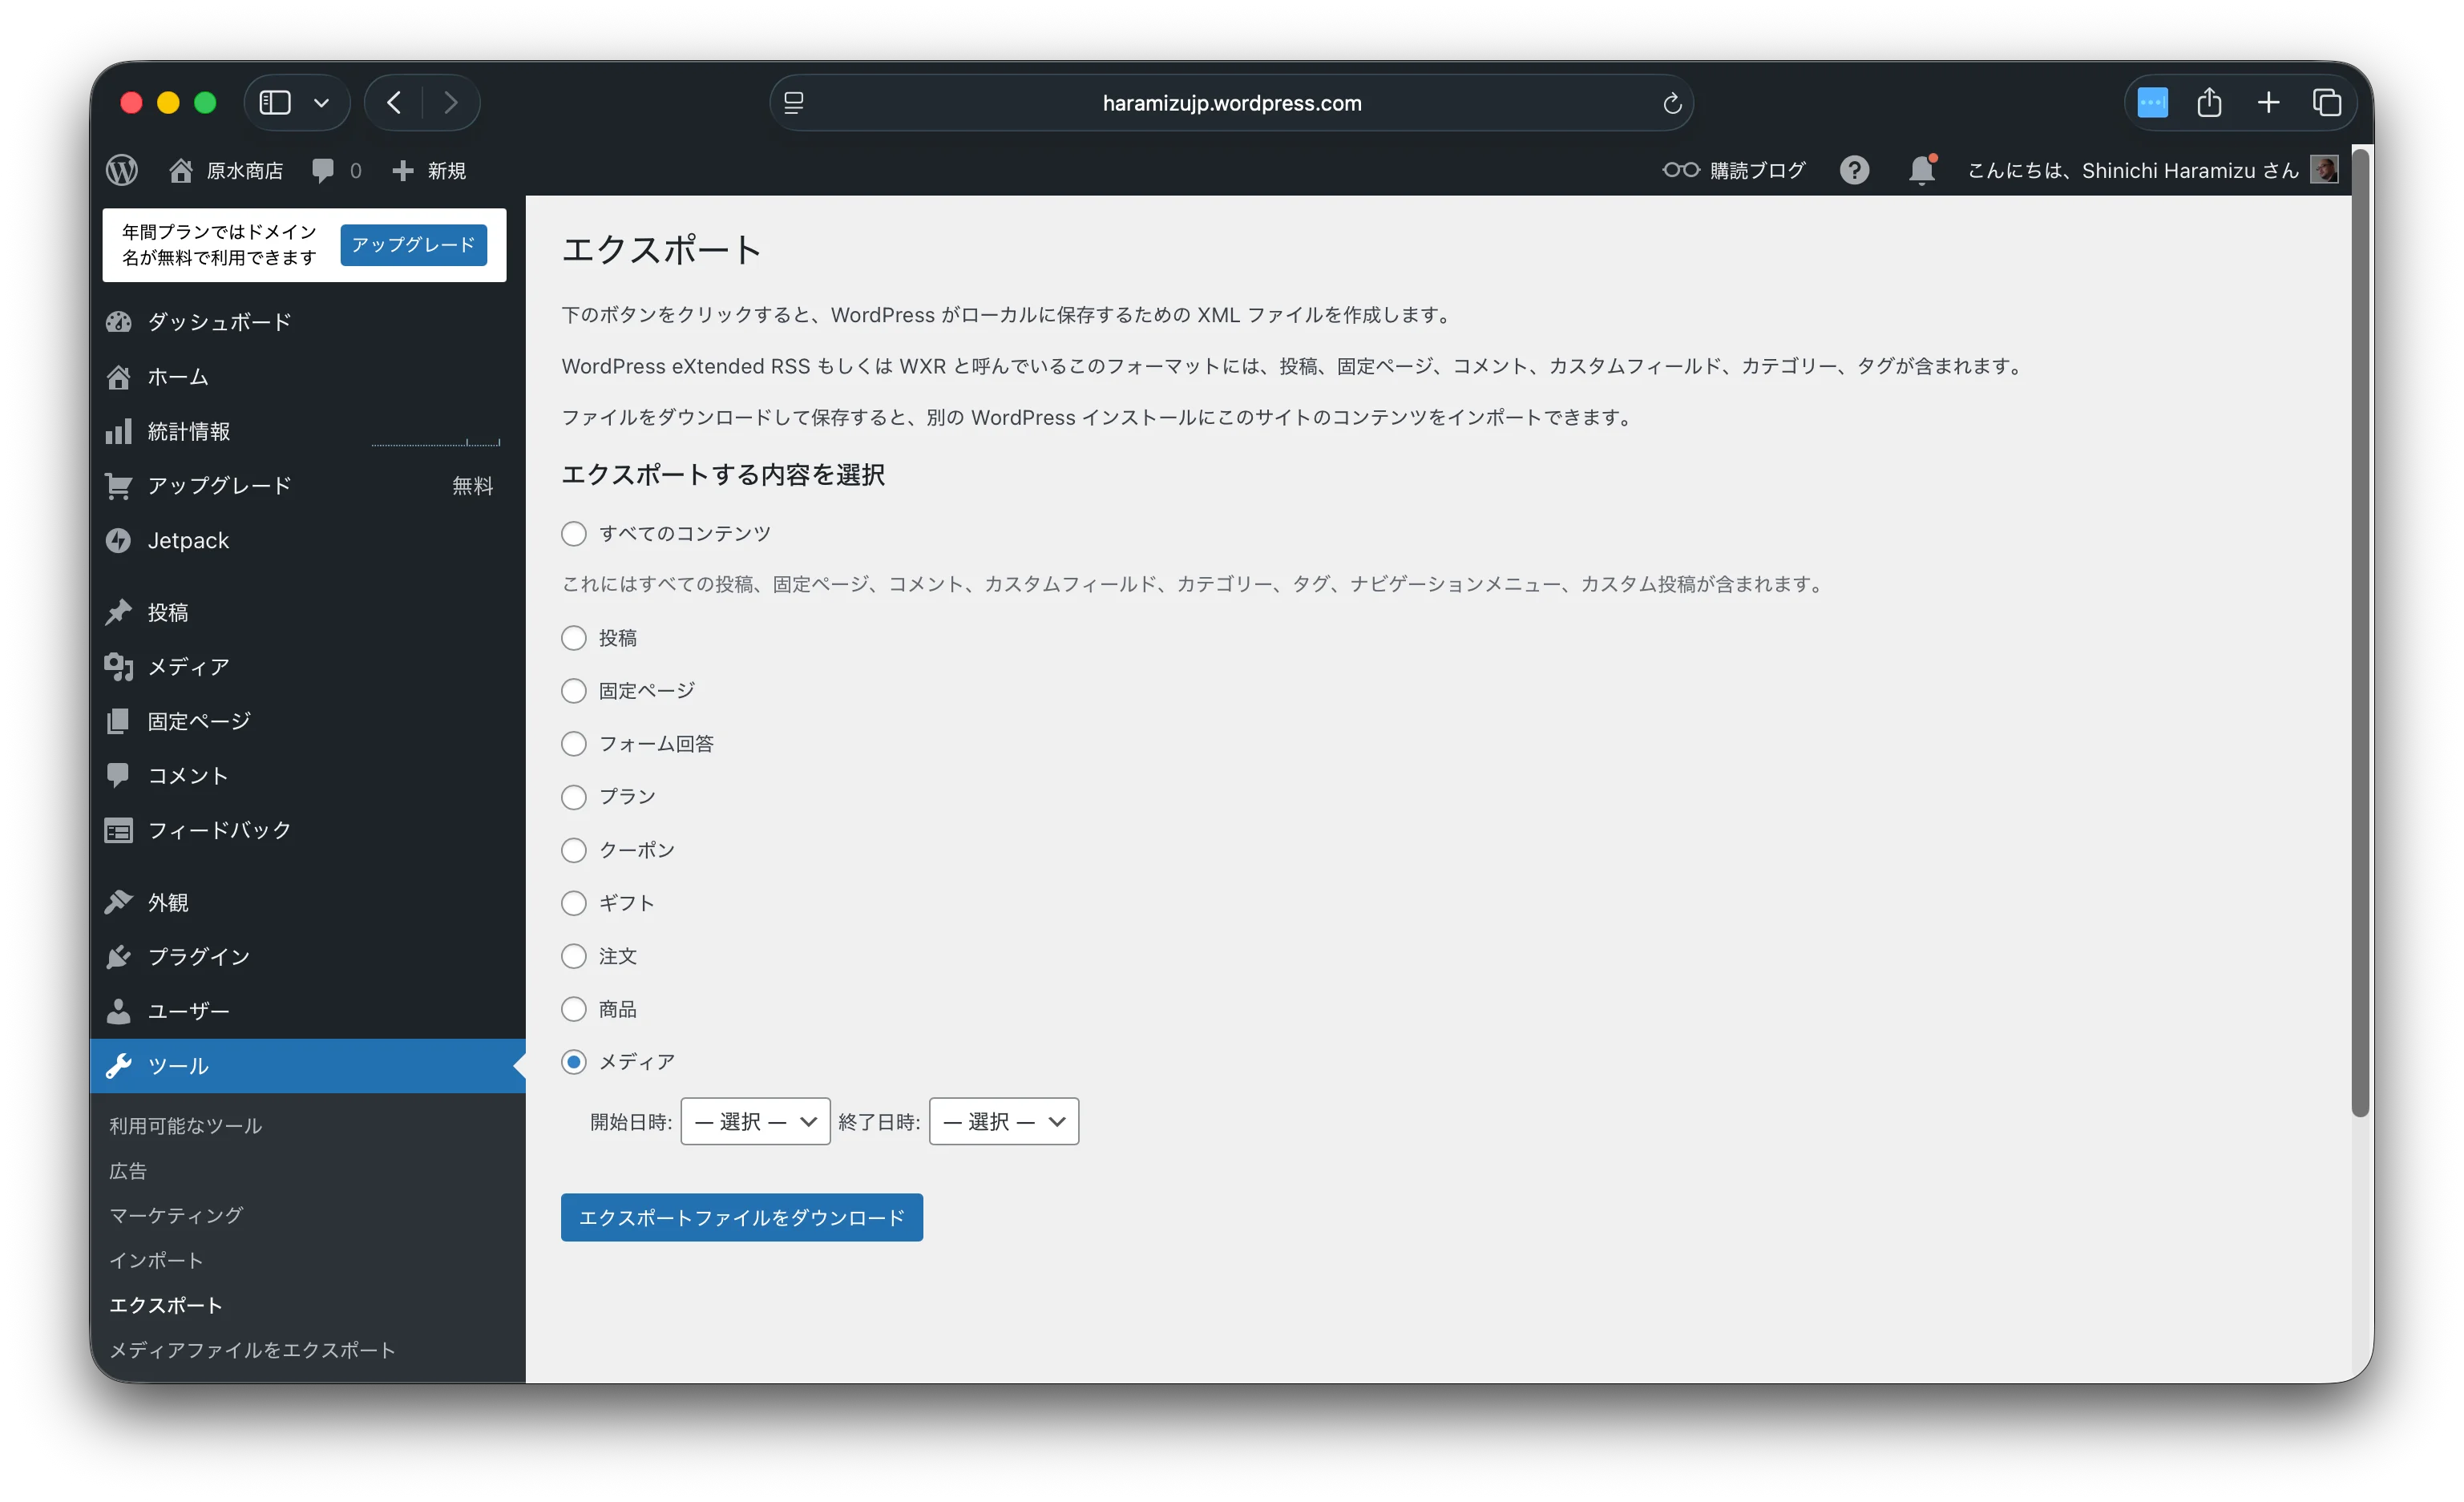
一方、Wordpress で管理しているメディアに関するデータに関して、XML 形式でデータを出力することが可能です。Wordpress の管理画面から「ツール」ー「エクスポート」の画面に切り替えて、メディアを選択すると XML ファイル形式でメディアに関するデータを取得することが可能です。
出力される XML のデータの形式のうち、以下の項目を利用することでオリジナルの画像を取得することができます。
<wp:attachment_url>
  <![CDATA[https://haramizujp.wordpress.com/wp-content/uploads/2013/01/img_0536.jpg]]>
</wp:attachment_url>
今回はこれを利用できるようにカスタマイズをしていきます。なお、普通に API 経由でデータが取れる場合は公式の手順のみで対応できます。
メディア関連のスクリプトの追加
まず最初に、記事などの中にメディアに関するデータがあった場合に Wordpress からデータを取得するスクリプトとして、./migrations/import-wp/lib/wpImageFetch.ts を追加します。BASE_URL に関しては記事のデータを取得する時と同じ値を利用しています。
import type {UploadClientConfig} from '@sanity/client'
import {decode} from 'html-entities'

import {BASE_URL} from '../constants'

// Get WordPress' asset metadata about an image by its ID
export async function wpImageFetch(id: number): Promise<UploadClientConfig | null> {
  const wpApiUrl = new URL(`${BASE_URL}/media/${id}`).toString()
  const imageData = await fetch(wpApiUrl).then((res) => res.json())

  if (!imageData || !imageData.source_url) {
    return null
  }

  let metadata: UploadClientConfig = {
    filename: imageData.source_url.split('/').pop(),
    source: {
      id: imageData.id,
      name: 'WordPress',
      url: imageData.source_url,
    },
    // Not technically part of the Sanity imageAsset schema, but used by the popular Media Plugin
    // @ts-expect-error
    altText: imageData.alt_text,
  }

  if (imageData?.title?.rendered) {
    metadata.title = decode(imageData.title.rendered)
  }

  if (imageData?.image_meta?.caption) {
    metadata.description = imageData.image_meta.caption
  }

  if (imageData?.image_meta?.credit) {
    metadata.creditLine = imageData.image_meta.credit
  }

  return metadata
}
取得したデータを Sanity にアップロードするためのコードとして、./migrations/import-wp/lib/sanityUploadFromUrl.ts のファイルを追加します。
import {Readable} from 'node:stream'

import type {SanityClient, SanityImageAssetDocument, UploadClientConfig} from '@sanity/client'

export async function sanityUploadFromUrl(
  url: string,
  client: SanityClient,
  metadata: UploadClientConfig,
): Promise<SanityImageAssetDocument | null> {
  const {body} = await fetch(url)
  if (!body) {
    throw new Error(`No body found for ${url}`)
  }
  let data: SanityImageAssetDocument | null = null
  try {
    data = await client.assets.upload(
      'image',
      Readable.fromWeb(body),
      metadata,
    )
  } catch (error) {
    console.error(`Failed to upload image from ${url}`)
    console.error(error)

    return null
  }

  return data
}
画像の参照を可能にするためのリファレンスとして、./migrations/import-wp-lib/sanityIdToImageReference.ts のファイルを追加します。
import type {Post} from '../../../sanity.types'

export function sanityIdToImageReference(id: string): Post['featuredMedia'] {
  return {
    _type: 'image',
    asset: {_type: 'reference', _ref: id},
  }
}
画像のアップロードをするためのスクリプトを作成します。これまで作成した ID を利用して Sanity にアップロードをします。この際、以前にアップロードした画像があるかどうかを確認します。 ./migrations/import-wp/lib/sanityFetchImages.ts のファイルを追加します。
import type {SanityClient} from 'sanity'

const query = `*[
    _type == "sanity.imageAsset"
    && defined(source.id)
    && source.name == "WordPress"
]{
    _id,
    "sourceId": source.id
}`

export async function sanityFetchImages(client: SanityClient) {
  const initialImages = await client.fetch<{_id: string; sourceId: number}[]>(query)
  const existingImages: Record<number, string> = {}

  for (let index = 0; index < initialImages.length; index++) {
    existingImages[initialImages[index].sourceId] = initialImages[index]._id
  }

  return existingImages
}
最後に、./migrations/import-wp/index.ts のファイルに上記のプロセスを追加します。ポイントは以下のとおりです。
- const limit =pLimit(5) として並行処理の数を制御します
- 画像が既にアップロード済みか確認をします
- 並行処理を制御するために、for 分ではなく limit(async を利用する形に変更
変更後のコードは以下のようになります。
import {createClient} from '@sanity/client'
import pLimit from 'p-limit'
import {createOrReplace, defineMigration} from 'sanity/migrate'
import type {WP_REST_API_Post, WP_REST_API_Term} from 'wp-types'

import {getDataTypes} from './lib/getDataTypes'
import {sanityFetchImages} from './lib/sanityFetchImages'
import {transformToPost} from './lib/transformToPost'
import {wpDataTypeFetch} from './lib/wpDataTypeFetch'

const limit = pLimit(5)

// Add image imports, parallelized and limited
export default defineMigration({
  title: 'Import WP JSON data',

  async *migrate(docs, context) {
    // Create a full client to handle image uploads
    const client = createClient(context.client.config())

    // Create an in-memory image cache to avoid re-uploading images
    const existingImages = await sanityFetchImages(client)

    const {wpType} = getDataTypes(process.argv)
    let page = 1
    let hasMore = true

    while (hasMore) {
      try {
        let wpData = await wpDataTypeFetch(wpType, page)

        if (Array.isArray(wpData) && wpData.length) {
          // Create an array of concurrency-limited promises to stage documents
          const docs = wpData.map((wpDoc) =>
            limit(async () => {
              if (wpType === 'posts') {
                wpDoc = wpDoc as WP_REST_API_Post
                const doc = await transformToPost(wpDoc, client,  existingImages)
                return doc
              } else if (wpType === 'pages') {
                wpDoc = wpDoc as WP_REST_API_Post
              } else if (wpType === 'categories') {
                wpDoc = wpDoc as WP_REST_API_Term
              } else if (wpType === 'tags') {
                wpDoc = wpDoc as WP_REST_API_Term
              }

              hasMore = false
              throw new Error(`Unhandled WordPress type: ${wpType}`)
            }),
          )

          // Resolve all documents concurrently, throttled by p-limit
          const resolvedDocs = await Promise.all(docs)

          yield resolvedDocs.map((doc) => createOrReplace(doc))
          page++
        } else {
          hasMore = false
        }
      } catch (error) {
        console.error(`Error fetching data for page ${page}:`, error)
        // Stop the loop in case of an error
        hasMore = false
      }
    }
  },
})
API を利用できる場合は、以下のコマンドを実行することで画像が Sanity へアップロードされて、管理画面で参照できるようになります。
npx sanity@latest migration run import-wp --no-dry-run --type=postsここまでが Wordpress の API を利用して画像を取得、アップロードをする手順となります。
XML を利用してインポート
今回実行している環境では Wordpress の API を利用して画像を取得できないため、以下の追加の手続きが必要となります。
XML ファイルの準備
事前に Wordpress からダウンロードしているファイルを migrations/import-wp/lib/WordPress.assets.xml に追加します。この XML ファイルのデータを元に、オリジナルの画像を取得してアップロードする形とします。
アップロードの手順を追加
実際のコードでは XML のデータを Node.js の上で利用するために、パッケージを追加します。
npm install xml2js
npm i --save-dev @types/xml2js
続いてファイルからデータを取得するスクリプトとして、migrations/import-wp/lib/wpImageFetchXML.ts を追加します。
import * as fs from 'fs'
import * as path from 'path'
import {parseStringPromise} from 'xml2js'

import type {UploadClientConfig} from '@sanity/client'

// Get WordPress' asset metadata about an image by its ID
export async function wpImageFetchXML(id: number): Promise<UploadClientConfig | null> {
  const xmlFilePath = path.resolve(__dirname, './WordPress.assets.xml')

  // Read the XML file
  const xmlData = fs.readFileSync(xmlFilePath, 'utf-8')

  // Parse the XML data
  const parsedXml = await parseStringPromise(xmlData)

  // Get the items from the parsed XML
  const items = parsedXml.rss.channel[0].item || []
  for (const item of items) {
    const currentPostId = item['wp:post_id']?.[0]
    if (parseInt(currentPostId, 10) === id) {
      const source_url = item['guid']?.[0]?._

      let metadata: UploadClientConfig = {
        filename: source_url.split('/').pop(),
        source: {
          id: id.toString(),
          name: 'WordPress',
          url: source_url,
        },
        // Not technically part of the Sanity imageAsset schema, but used by the popular Media Plugin
        // @ts-expect-error
        altText: item['title'][0] || `Title`,
      }

      if (item['title']) {
        metadata.title = item['title'][0]
      }

      // if (imageData?.image_meta?.caption) {
      //   metadata.description = imageData.image_meta.caption
      // }

      return metadata
    }
  }
  return null
}
続いて画像のアップロードをする際の migrations/import-wp/lib/transformToPost.ts の処理を変更します。変更点は2箇所です。
// import {wpImageFetch} from './wpImageFetch'
import {wpImageFetchXML} from './wpImageFetchXML' // Retrieve image details from WordPress
// const metadata = await wpImageFetch(wpDoc.featured_media)
const metadata = await wpImageFetchXML(wpDoc.featured_media)
参考: https://github.com/haramizu/sanity-wordpress/commit/e8b0bc1ec273a53c6fb012de4529ed2d84c806b6
アップロードの実行
以下のコマンドを実行して、投稿で利用している画像のアセットをアップロードします。
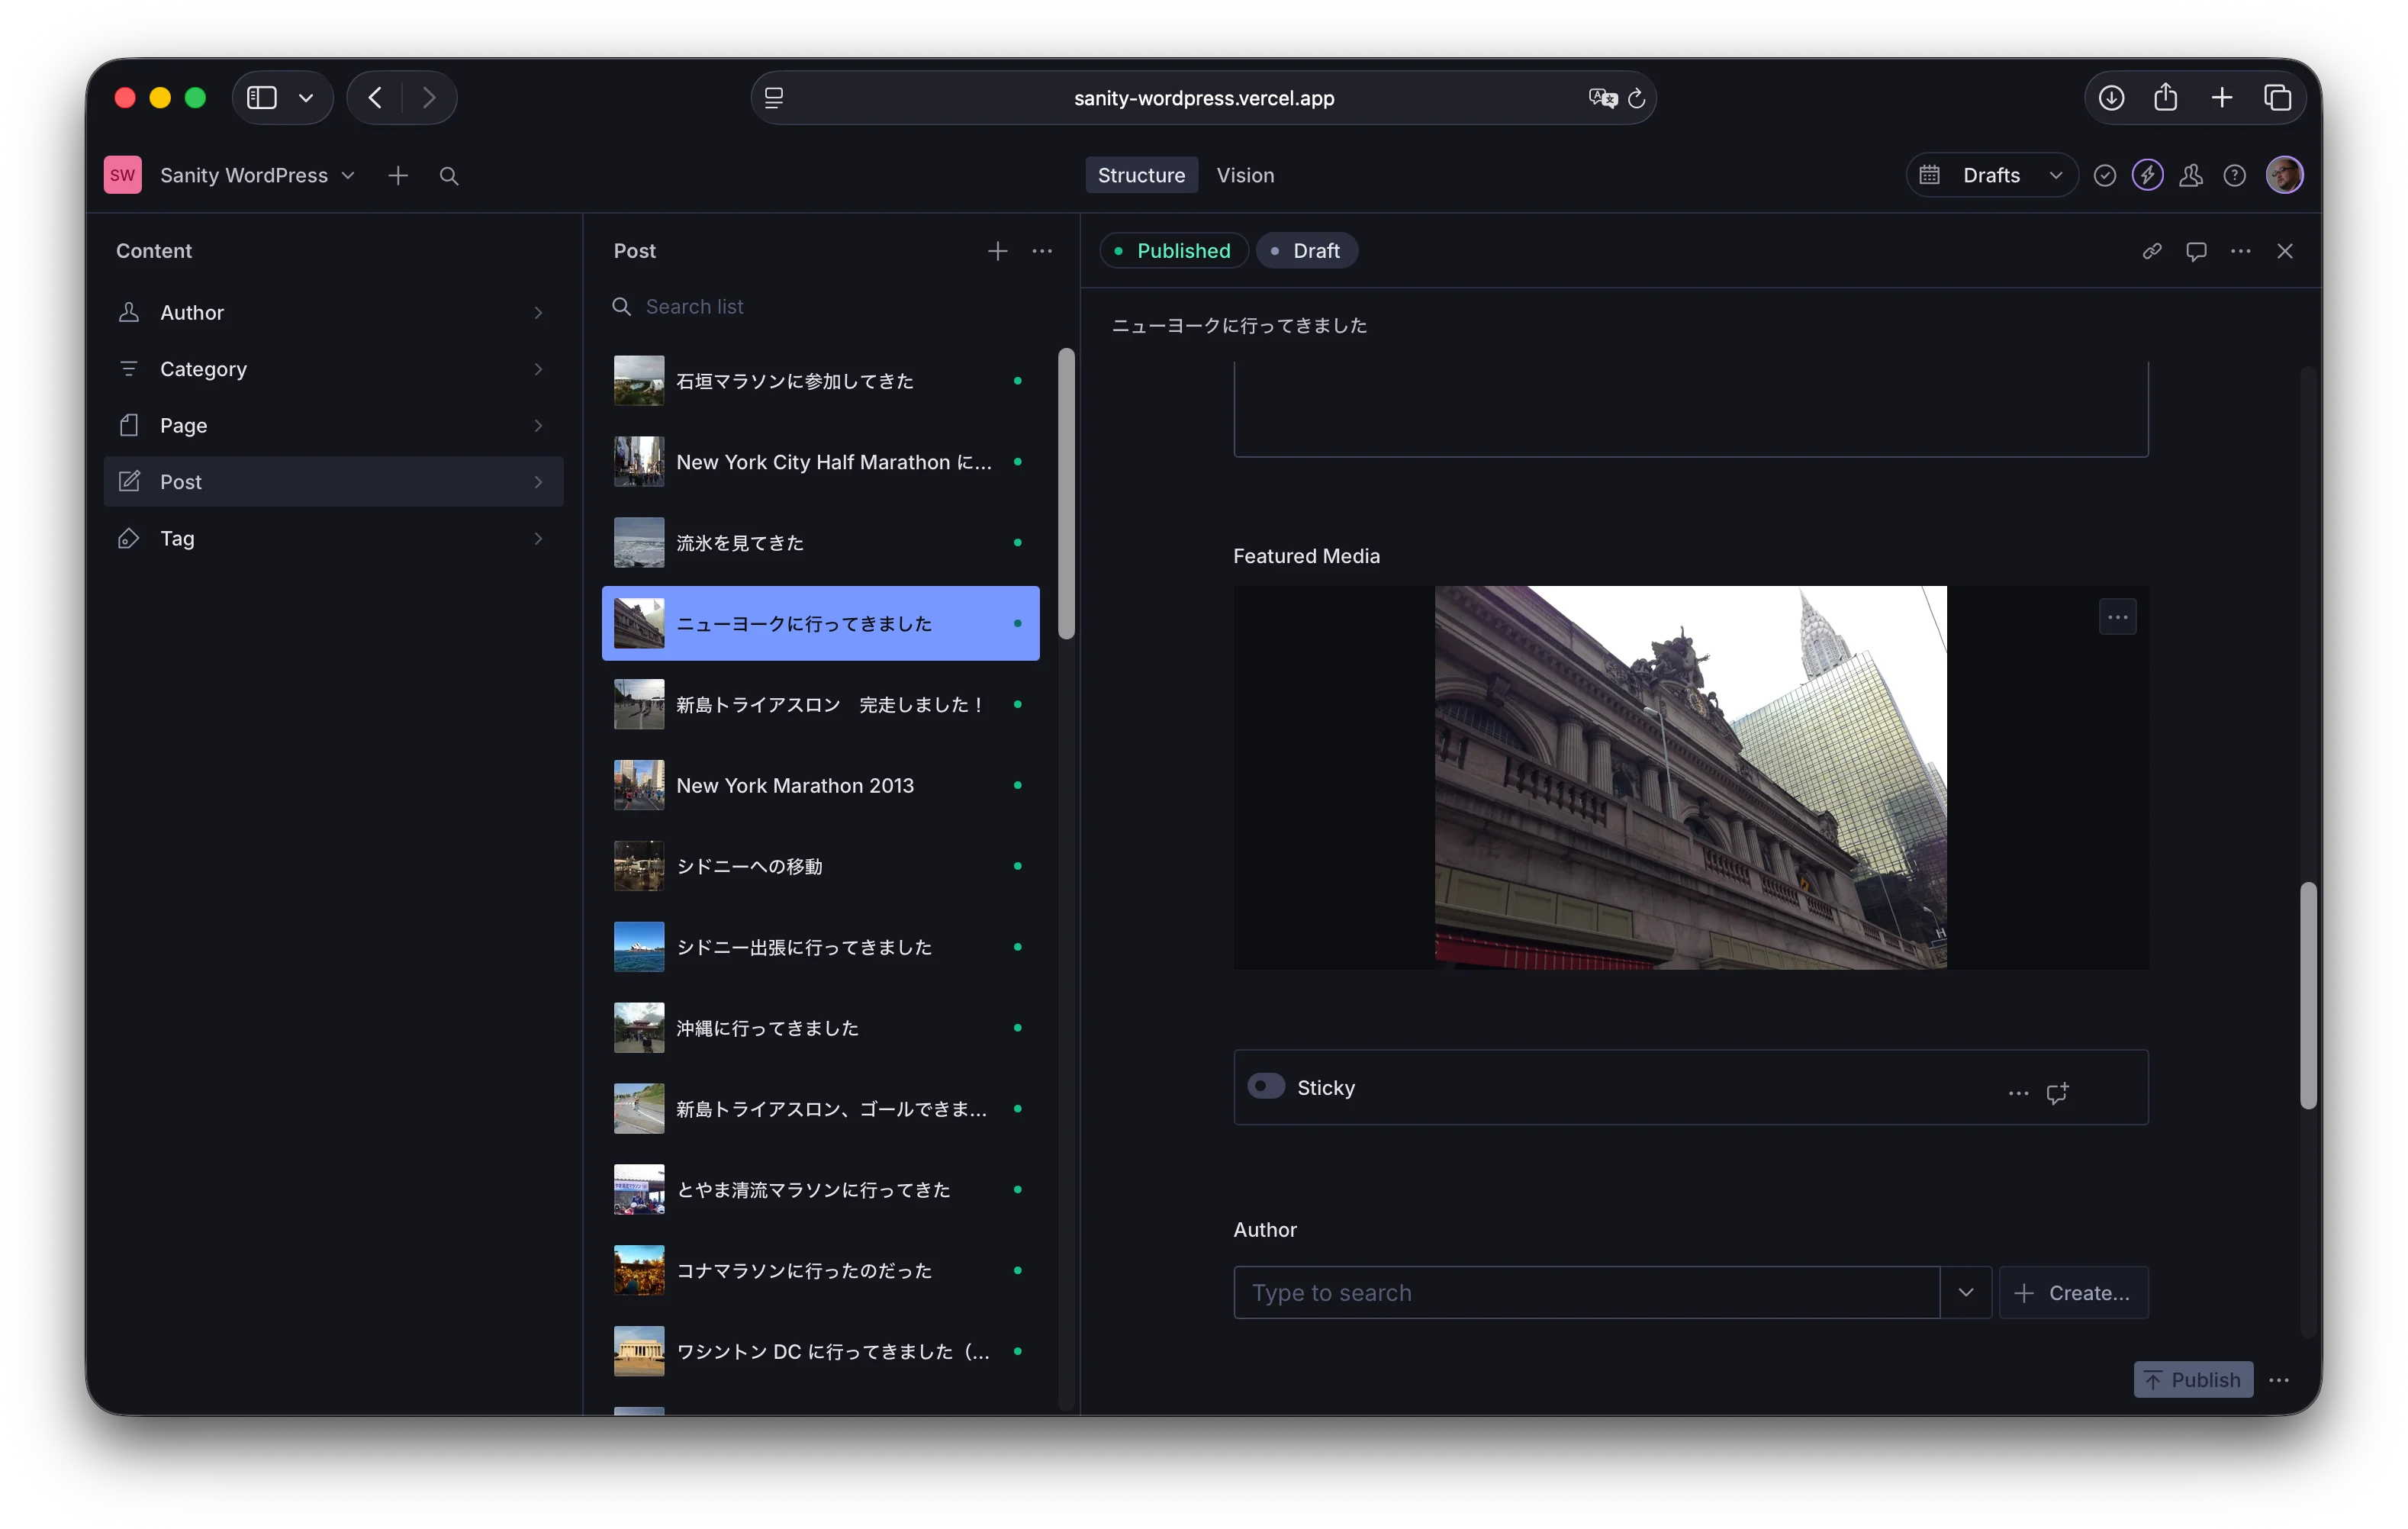
npx sanity@latest migration run import-wp --no-dry-run --type=posts処理が正しく終了すると、以下のように Studio の記事に対してサムネイルの画像、および記事で指定している画像がアップロードされて参照されるようになりました。
まとめ
今回は公式サイトの手順を参考にしつつ、API からではなくアセットの情報が含まれている XML の情報からアセットに関する URL を取得してアップロードする手順をまとめました。ここまでのコードは、以下で公開をしています。
次のステップでは、リッチテキストエリアの取り扱いを進めていきます。