
投稿タイプの処理
前回の手順で、ブログの記事一覧を取得して Sanity Studio で投稿一覧を参照することができるようになりました。今回は投稿しているコンテンツについてもう少し細かく処理をしていきます。
ここでの手順に関する公式のページは以下のとおりです。
コンテンツのタイプについて
Wordpress で管理しているコンテンツのタイプとしては、今回はブログの記事、それと連携するタグ、ページ、編集者などの項目があります。それぞれのデータを移行して、事前に定義してたスキーマに割り当てて行く部分の処理を追加していきます。
例えば、タグのデータを移行するのであれば、以下のようなコマンドの実行で移行ができるようにする形に変更していきます。
npx sanity@latest migration run import-wp --type=tagsコンテンツタイプの定義
コンテンツのタイプに関して、migrations/import-wp/constants.ts のファイルに対して定義を追加します。
import type {SanitySchemaType, WordPressDataType} from './types'

// Replace this with your WordPress site's WP-JSON REST API URL
export const BASE_URL = 'https://<your-domain>/wp-json/wp/v2'
export const PER_PAGE = 100

export const WP_TYPE_TO_SANITY_SCHEMA_TYPE: Record<WordPressDataType, SanitySchemaType> = {
  categories: 'category',
  posts: 'post',
  pages: 'page',
  tags: 'tag',
  users: 'author',
}
続いて、コマンドラインの引数を取得して処理を切り替えることができるように、./migrations/import-wp/lib/getDataTypes.ts のファイルを作成して以下のコードを追加します。
import {WP_TYPE_TO_SANITY_SCHEMA_TYPE} from '../constants'
import type {SanitySchemaType, WordPressDataType} from '../types'

// Get WordPress type from CLI arguments, and the corresponding Sanity schema type
export function getDataTypes(args: string[]): {
  wpType: WordPressDataType
  sanityType: SanitySchemaType
} {
  let wpType = args
    .find((a) => a.startsWith('--type='))
    ?.split('=')
    .pop() as WordPressDataType
  let sanityType = WP_TYPE_TO_SANITY_SCHEMA_TYPE[wpType]

  if (!wpType || !sanityType) {
    throw new Error(
      `Invalid WordPress data type, specify a with --type= ${Object.keys(
        WP_TYPE_TO_SANITY_SCHEMA_TYPE,
      ).join(', ')}`,
    )
  }

  return {wpType, sanityType}
}
作成した上記のファイルを有効にするために、migrations/wp-import/index.ts のファイルを以下のように更新します。
import {decode} from 'html-entities'
import type {SanityDocumentLike} from 'sanity'
import {createOrReplace, defineMigration} from 'sanity/migrate'
import type {WP_REST_API_Post, WP_REST_API_Term, WP_REST_API_User} from 'wp-types'

import {getDataTypes} from './lib/getDataTypes'
import {wpDataTypeFetch} from './lib/wpDataTypeFetch'

// Allow the migration script to import a specific post type when run
export default defineMigration({
  title: 'Import WP JSON data',

  async *migrate() {
    const {wpType, sanityType} = getDataTypes(process.argv)
    let page = 1
    let hasMore = true

    while (hasMore) {
      try {
        let wpData = await wpDataTypeFetch(wpType, page)

        if (Array.isArray(wpData) && wpData.length) {
          const docs: SanityDocumentLike[] = []

          for (let wpDoc of wpData) {
            const doc: SanityDocumentLike = {
              _id: `${sanityType}-${wpDoc.id}`,
              _type: sanityType,
            }

            if (wpType === 'posts' || wpType === 'pages') {
              wpDoc = wpDoc as WP_REST_API_Post
              doc.title = decode(wpDoc.title.rendered).trim()
            } else if (wpType === 'categories' || wpType === 'tags') {
              wpDoc = wpDoc as WP_REST_API_Term
              doc.name = decode(wpDoc.name).trim()
            } else if (wpType === 'users') {
              wpDoc = wpDoc as WP_REST_API_User
              doc.name = decode(wpDoc.name).trim()
            }

            docs.push(doc)
          }

          yield docs.map((doc) => createOrReplace(doc))
          page++
        } else {
          hasMore = false
        }
      } catch (error) {
        console.error(`Error fetching data for page ${page}:`, error)
        // Stop the loop in case of an error
        hasMore = false
      }
    }
  },
})
これで各タイプに対して実行できるようになりました。まず、posts に関して以下のコマンドを実行します。
npx sanity@latest migration run import-wp --no-dry-run --type=posts正しく処理ができていることを確認できれば、続いて以下のコマンドを実行してください。
npx sanity@latest migration run import-wp --no-dry-run --type=pages
npx sanity@latest migration run import-wp --no-dry-run --type=categories
npx sanity@latest migration run import-wp --no-dry-run --type=tags
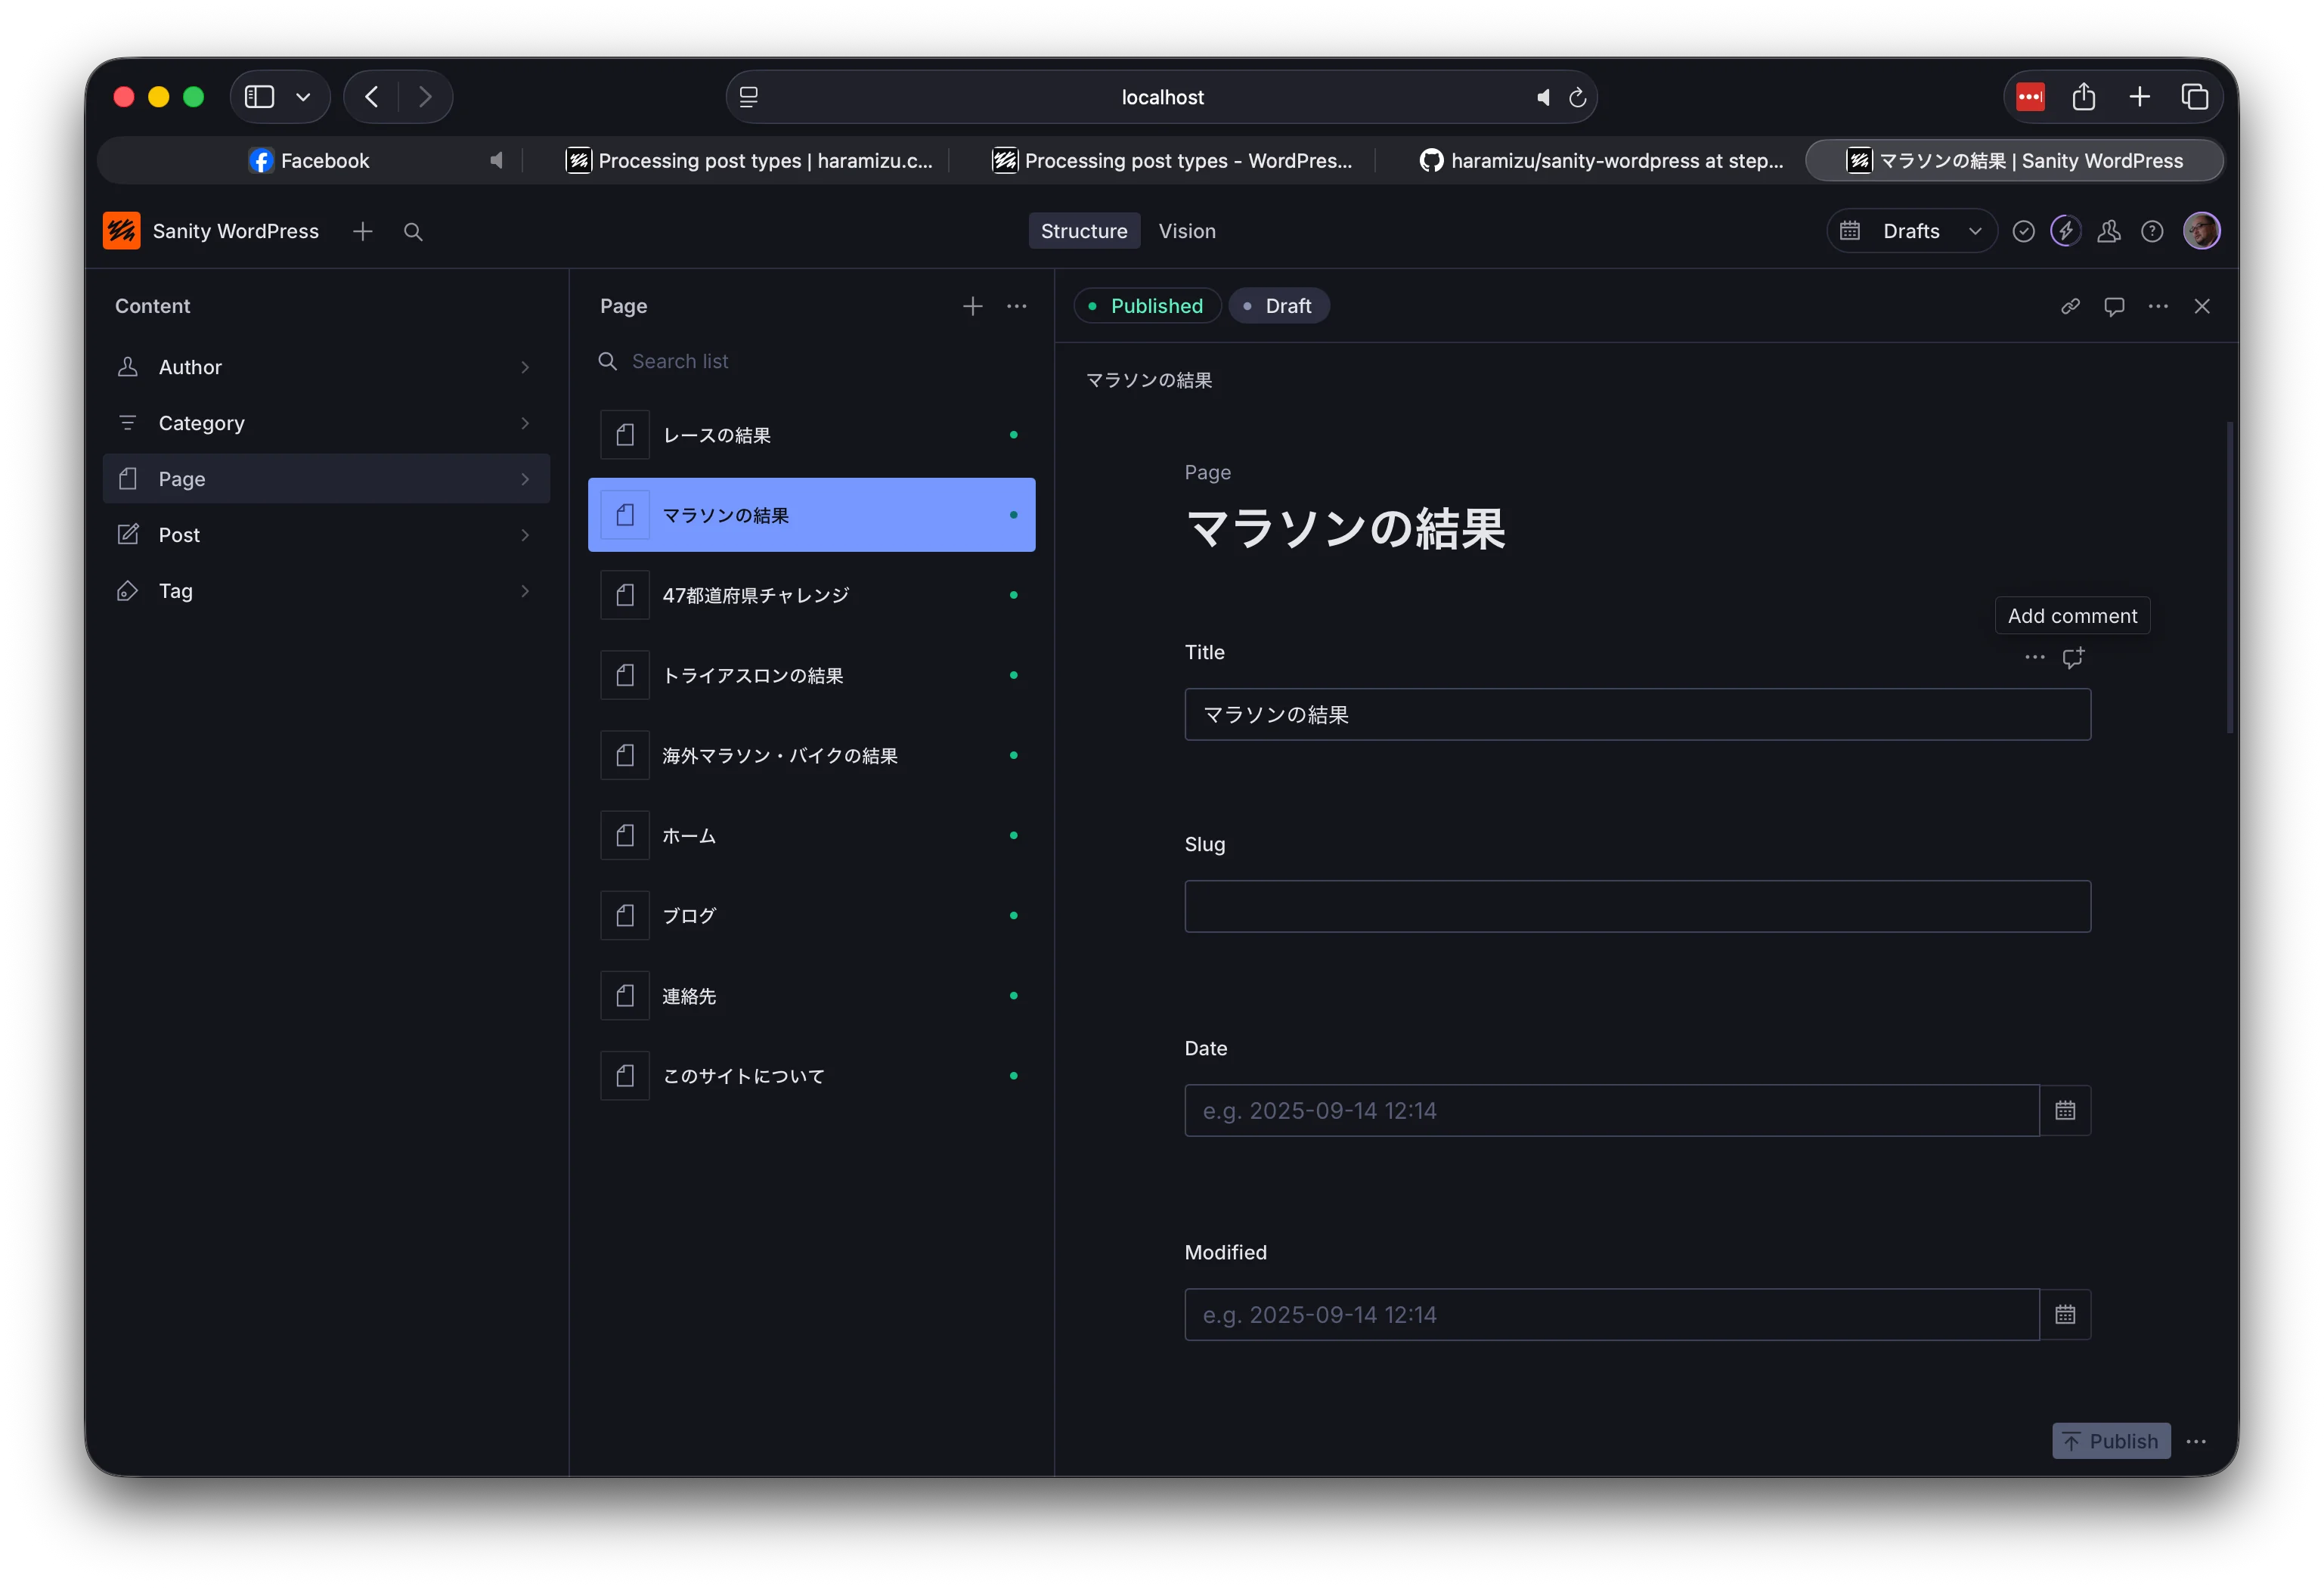
npx sanity@latest migration run import-wp --no-dry-run --type=users今回は元のサイトで複数ユーザーを利用していないため、最後の users に関してはデータが何もインポートされることはありません。ページのデータを正しいデータスキーマのタイプにデータを渡せているのを以下で確認ができます。
投稿タイプに合わせたデータ移行
今の所、どの投稿タイプに対しても動くようにタイトルのみを取得してコンテンツを移行する形として動かしていました。実際にはそれぞれのコンテンツのタイプに合わせて、データの移行に関して調整をする必要があります。ここからはこの部分を進めていきます。
Sanity Studio の型定義のファイルを作成
すでに定義している Sanity Studio におけるスキーマの定義から、型の定義ファイルを作成していきます。この手順は、以下の手順で作成することが可能です。
まず、スキーマの情報を json ファイルとして出力します。
npx sanity@latest schema extract上記のコマンドを実行すると、schema.json のファイルが作成されます。作成されたファイルを利用して、型定義のファイルを生成するためには以下のコマンドを実行してください。
npx sanity@latest typegen generatesanity.types.ts のファイルが作成されて、Sanity Studio で管理をしているコンテンツのタイプに関しての型の定義ファイルが作成できました。
移行スクリプトの更新
実際にそれぞれの投稿タイプに対して、データを移行する手続きを追加していきます。まず最初にブログの投稿の処理を実行するために、migrations/import-wp/lib/transformToPost.ts のファイルを追加します。
import {decode} from 'html-entities'
import type {WP_REST_API_Post} from 'wp-types'

import type {Post} from '../../../sanity.types'

// Remove these keys because they'll be created by Content Lake
type StagedPost = Omit<Post, '_createdAt' | '_updatedAt' | '_rev'>

export async function transformToPost(wpDoc: WP_REST_API_Post): Promise<StagedPost> {
  const doc: StagedPost = {
    _id: `post-${wpDoc.id}`,
    _type: 'post',
  }

  doc.title = decode(wpDoc.title.rendered).trim()

  return doc
}
この処理を post を引き数として呼ばれた際に実行できるように、migrations/import-wp/index.ts のファイルを以下のように更新します。
import type {SanityDocumentLike} from 'sanity'
import {createOrReplace, defineMigration} from 'sanity/migrate'
import type {WP_REST_API_Post, WP_REST_API_Term, WP_REST_API_User} from 'wp-types'

import {getDataTypes} from './lib/getDataTypes'
import {transformToPost} from './lib/transformToPost'
import {wpDataTypeFetch} from './lib/wpDataTypeFetch'

export default defineMigration({
  title: 'Import WP JSON data',

  async *migrate() {
    const {wpType} = getDataTypes(process.argv)
    let page = 1
    let hasMore = true

    while (hasMore) {
      try {
        let wpData = await wpDataTypeFetch(wpType, page)

        if (Array.isArray(wpData) && wpData.length) {
          const docs: SanityDocumentLike[] = []

          for (let wpDoc of wpData) {
            if (wpType === 'posts') {
              wpDoc = wpDoc as WP_REST_API_Post
              const doc = await transformToPost(wpDoc)
              docs.push(doc)
            } else if (wpType === 'pages') {
              wpDoc = wpDoc as WP_REST_API_Post
              // add your *page* transformation function
            } else if (wpType === 'categories') {
              wpDoc = wpDoc as WP_REST_API_Term
              // add your *category* transformation function
            } else if (wpType === 'tags') {
              wpDoc = wpDoc as WP_REST_API_Term
              // add your *tag* transformation function
            } else if (wpType === 'users') {
              wpDoc = wpDoc as WP_REST_API_User
              // add your *author* transformation function
            }
          }

          yield docs.map((doc) => createOrReplace(doc))
          page++
        } else {
          hasMore = false
        }
      } catch (error) {
        console.error(`Error fetching data for page ${page}:`, error)
        // Stop the loop in case of an error
        hasMore = false
      }
    }
  },
})
ブログ投稿に最適化する
migrations/import-wp/lib/transformToPost.ts のコードでは、まだタイトルの処理のみを追加している形です。実際に用意しているコンテンツのタイプに合わせてデータを移行するように、コードを追加していきます。
例えば、slug に関しては以下のようなコードになります。
if (wpDoc.slug) {
  doc.slug = { _type: 'slug', current: wpDoc.slug }
}
カテゴリに関しては ID を利用して参照している点、そして複数のカテゴリを指定する形となっています。そこで、以下のような処理を追加します。
if (Array.isArray(wpDoc.categories) && wpDoc.categories.length) {
  doc.categories = wpDoc.categories.map((catId) => ({
    _type: 'reference',
    _ref: `category-${catId}`
  }))
}
同様に編集者、日付、ステータス、タグのコードを追加していきます。
if (wpDoc.author) {
  doc.author = {
    _type: 'reference',
    _ref: `author-${wpDoc.author}`
  }
}

if (wpDoc.date) {
  doc.date = wpDoc.date
}

if (wpDoc.modified) {
  doc.modified = wpDoc.modified
}

if (wpDoc.status) {
  doc.status = wpDoc.status as StagedPost['status']
}

doc.sticky = wpDoc.sticky == true

if (Array.isArray(wpDoc.tags) && wpDoc.tags.length) {
  doc.tags = wpDoc.tags.map((tagId) => ({
    _key: uuid(),
    _type: 'reference',
    _ref: `tag-${tagId}`,
  }))
}
カスタムのメタデータの項目がある場合は、公式のページを参照してください。Sanity で定義するスキーマを追加して、そこにデータをコピーする手順が記載されています。
最終的にアップデートをしたファイルは以下のようになります。
import {uuid} from '@sanity/uuid'
import {decode} from 'html-entities'
import type {WP_REST_API_Post} from 'wp-types'

import type {Post} from '../../../sanity.types'

// Remove these keys because they'll be created by Content Lake
type StagedPost = Omit<Post, '_createdAt' | '_updatedAt' | '_rev'>

export async function transformToPost(wpDoc: WP_REST_API_Post): Promise<StagedPost> {
  const doc: StagedPost = {
    _id: `post-${wpDoc.id}`,
    _type: 'post',
  }

  doc.title = decode(wpDoc.title.rendered).trim()

  if (wpDoc.slug) {
    doc.slug = {_type: 'slug', current: wpDoc.slug}
  }

  if (Array.isArray(wpDoc.categories) && wpDoc.categories.length) {
    doc.categories = wpDoc.categories.map((catId) => ({
      _key: uuid(),
      _type: 'reference',
      _ref: `category-${catId}`,
    }))
  }

  if (wpDoc.date) {
    doc.date = wpDoc.date
  }

  if (wpDoc.modified) {
    doc.modified = wpDoc.modified
  }

  if (wpDoc.status) {
    doc.status = wpDoc.status as StagedPost['status']
  }

  doc.sticky = wpDoc.sticky == true

  if (Array.isArray(wpDoc.tags) && wpDoc.tags.length) {
    doc.tags = wpDoc.tags.map((tagId) => ({
      _key: uuid(),
      _type: 'reference',
      _ref: `tag-${tagId}`,
    }))
  }

  return doc
}
改めて、posts に関してインポートの手順を実行します。
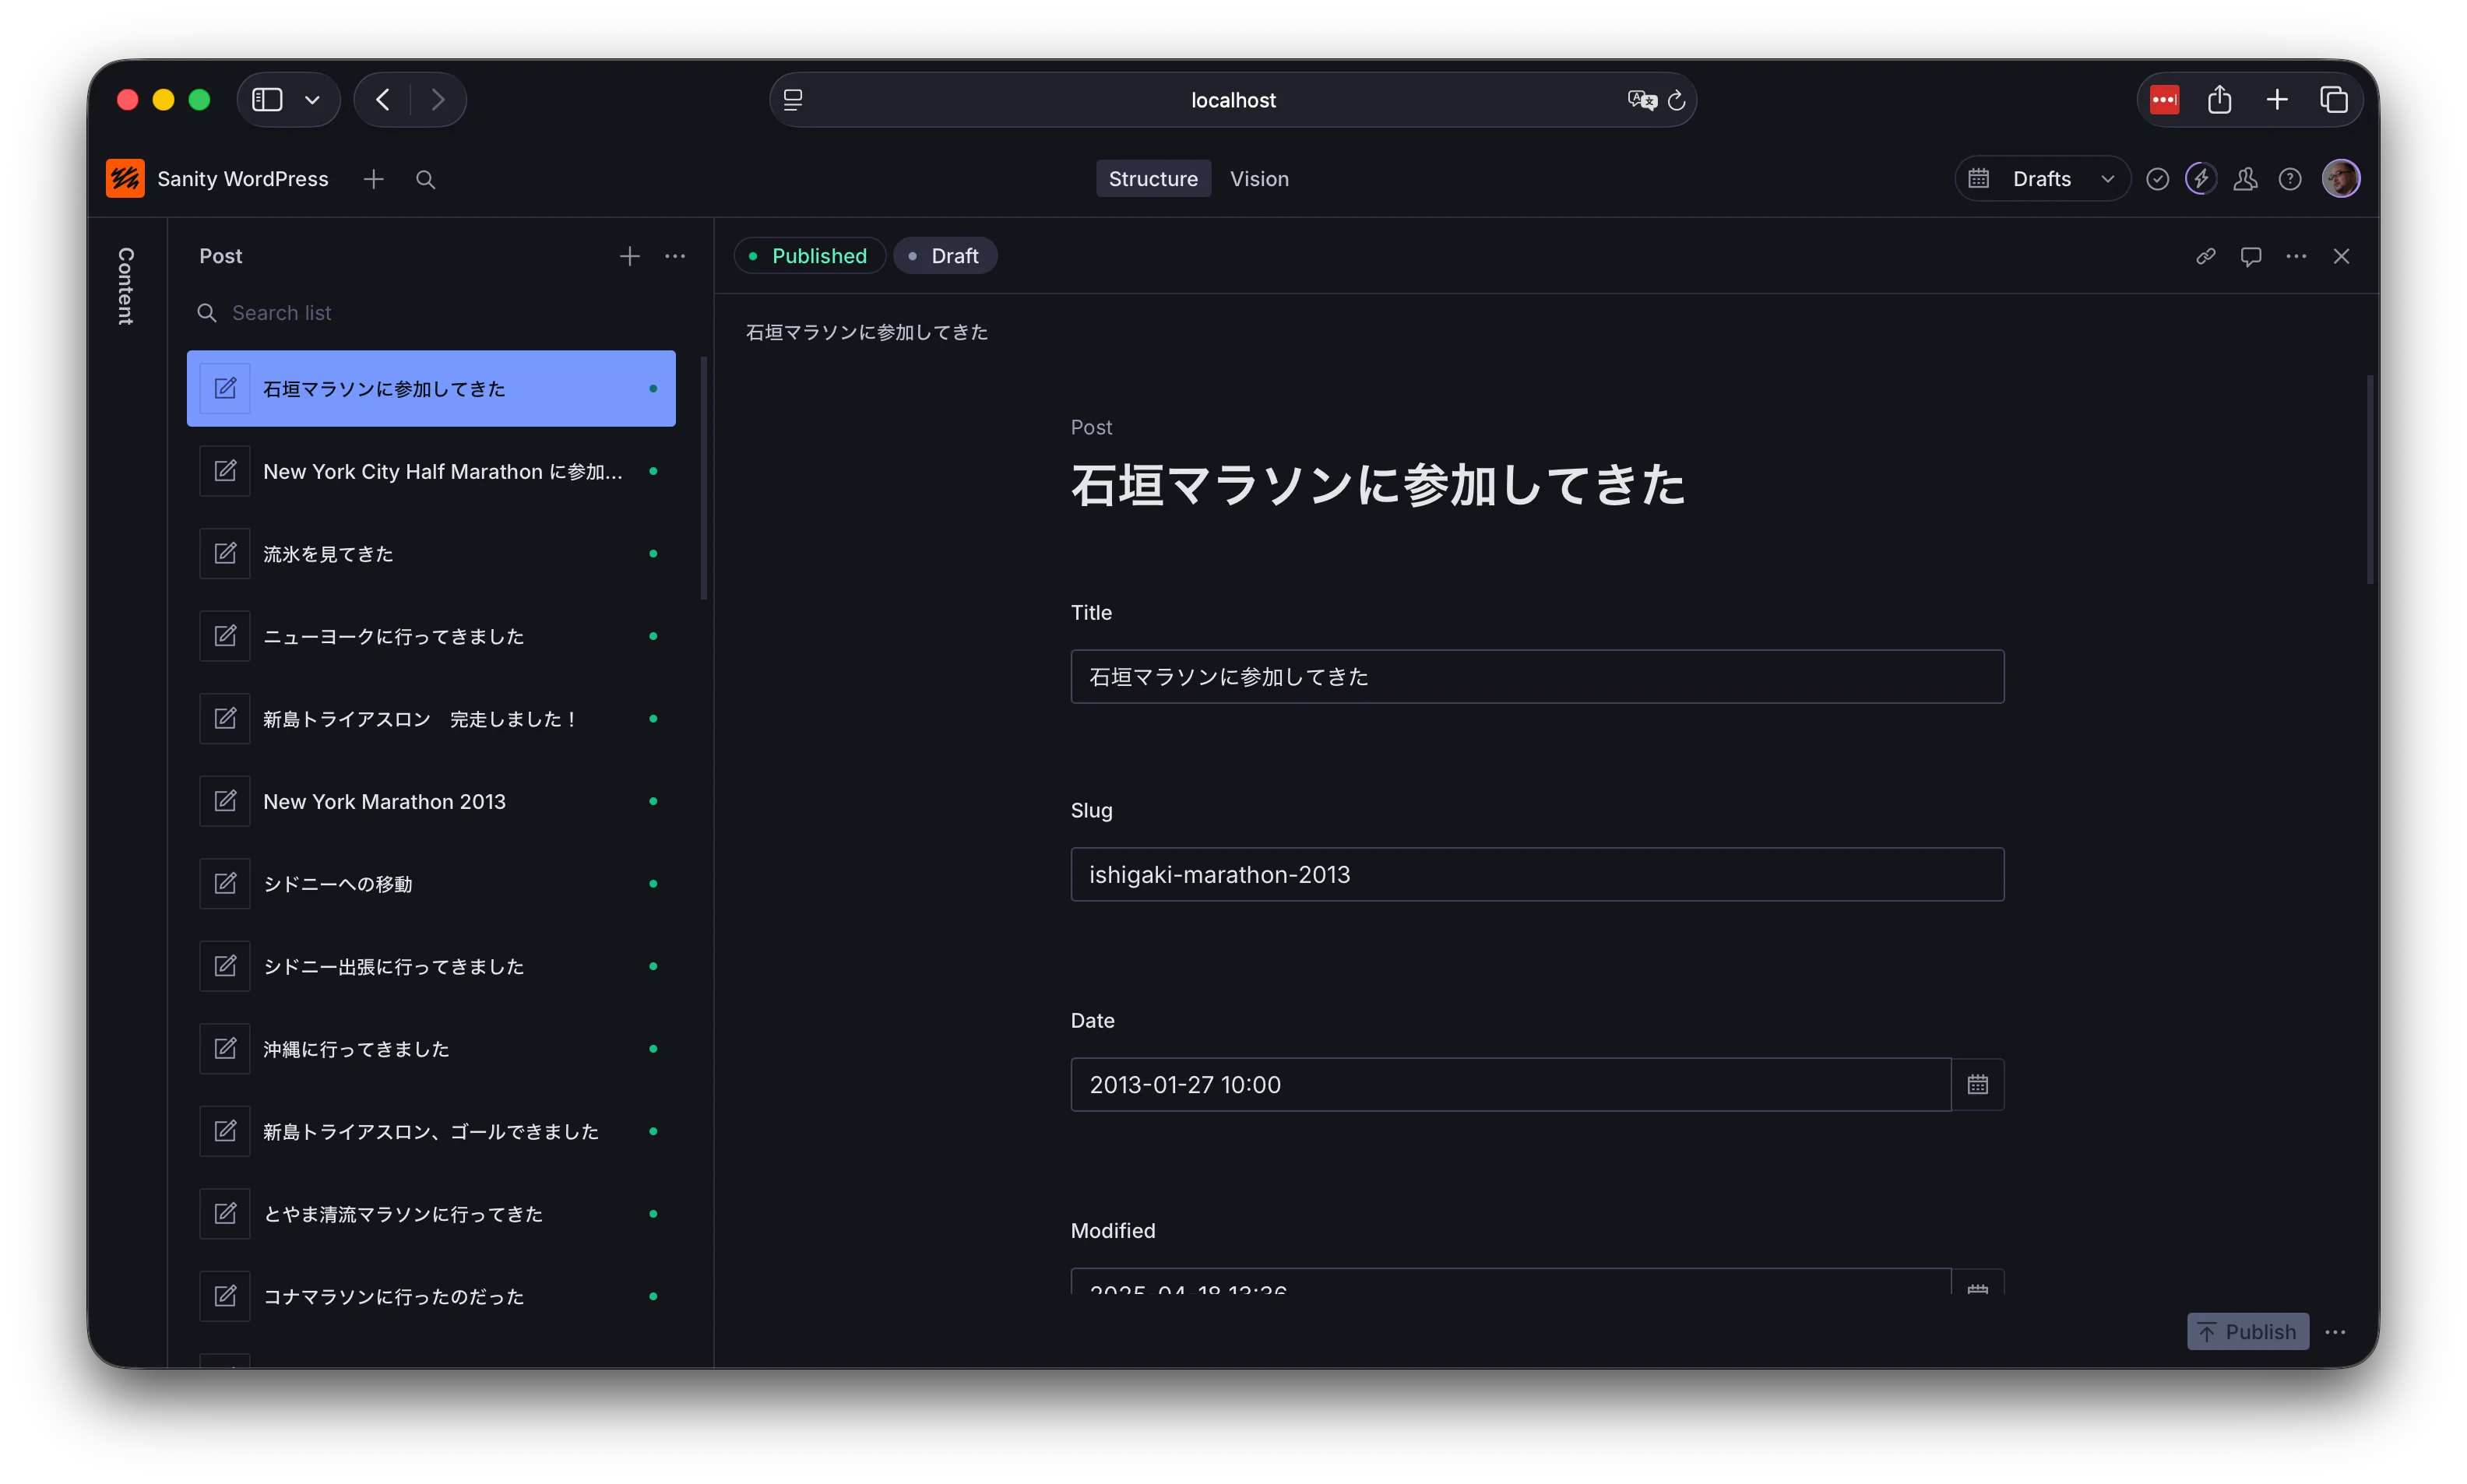
npx sanity@latest migration run import-wp --no-dry-run --type=posts実行後、Studio でコンテンツを確認すると slug などのデータが追加されていることを確認できます。
まとめ
今回は Post のデータに関しての基本データのインポートまで進めていきました。これまでの手順の結果に関しては以下のブランチで公開しています。
次のステップでは、画像などのアセットの移行を進めていきます。